When it comes to patios, walkways, or driveways, pavers are one of the most durable and visually appealing choices. But even the highest-quality pavers won’t last if they’re installed poorly. The secret to a flawless hardscape isn’t just the pavers themselves—it’s the precision in installation.
A truly professional job is defined by two things: clean edges that give the project a polished look, and a solid foundation that ensures long-term stability. In this article, we’ll break down how to achieve professional-level results, what tools are needed, and the mistakes to avoid if you want pavers that look beautiful and last decades.
Think of paver installation like building a house: without a strong foundation, the structure fails. For hardscapes, the foundation determines whether your pavers will stay level and resist shifting under pressure.
Why the foundation is crucial:
👉 For homeowners who want lasting results, Green to Gorgeous specializes in professional paver installations with long-term stability in mind.
To achieve clean edges and a solid foundation, the right tools are essential:
💡 Pro Tip: Always order 5–10% more pavers than you think you’ll need. This covers cutting, breakage, and future repairs.

Decide on the layout and pattern—herringbone, basket weave, or running bond are classic options. Mark the area with stakes and string lines to outline boundaries.
Dig down 6–12 inches, depending on whether it’s a patio, walkway, or driveway. This depth allows room for the base and bedding layers.
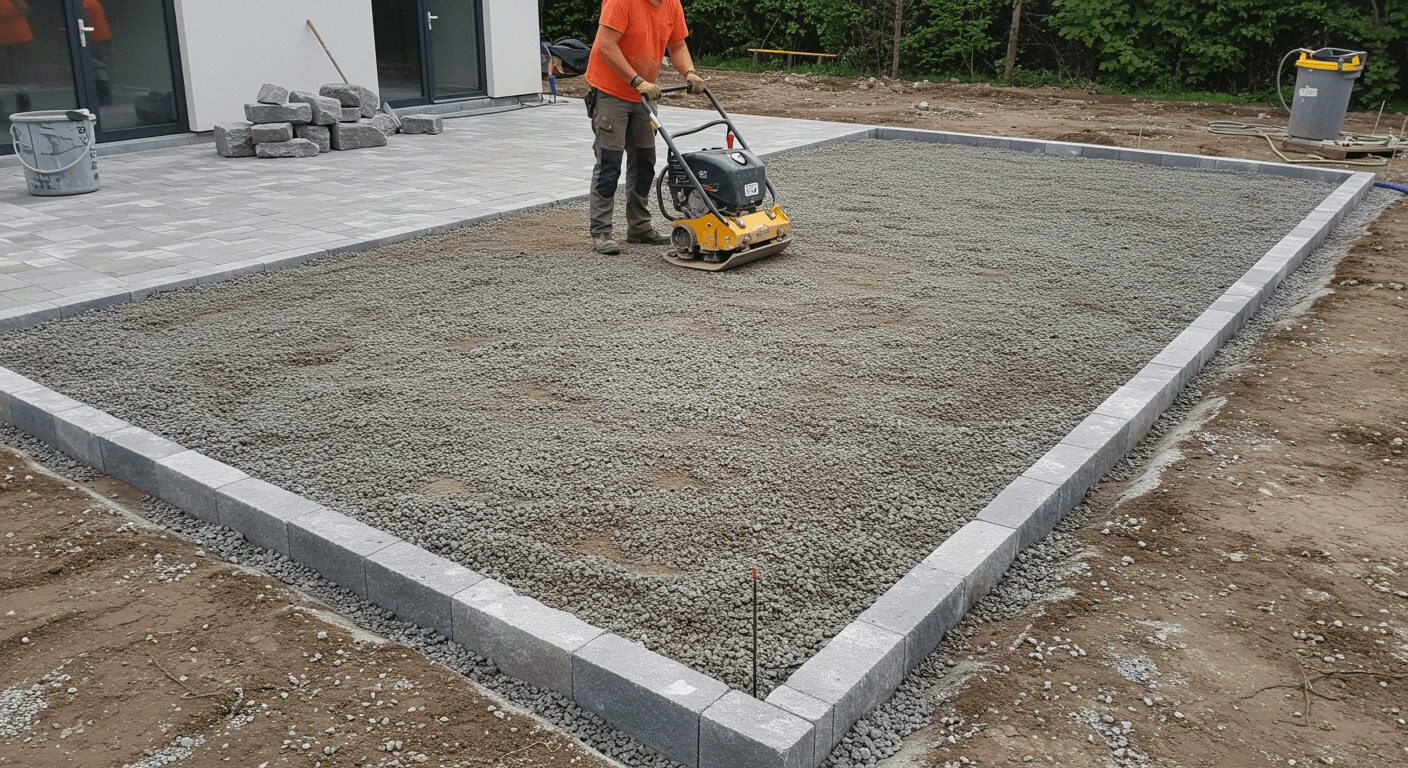
Spread crushed stone in layers of 2–3 inches, compacting thoroughly after each layer with a plate compactor. The finished base should slope slightly (¼ inch per foot) away from structures to allow drainage.
Spread a 1-inch layer of coarse sand over the compacted base. Screed it level using a board or screed rails to create a perfectly flat surface.
Place pavers carefully, starting from one corner or edge. Follow your chosen pattern, keeping joints consistent. Tap each paver gently into place with a rubber mallet.
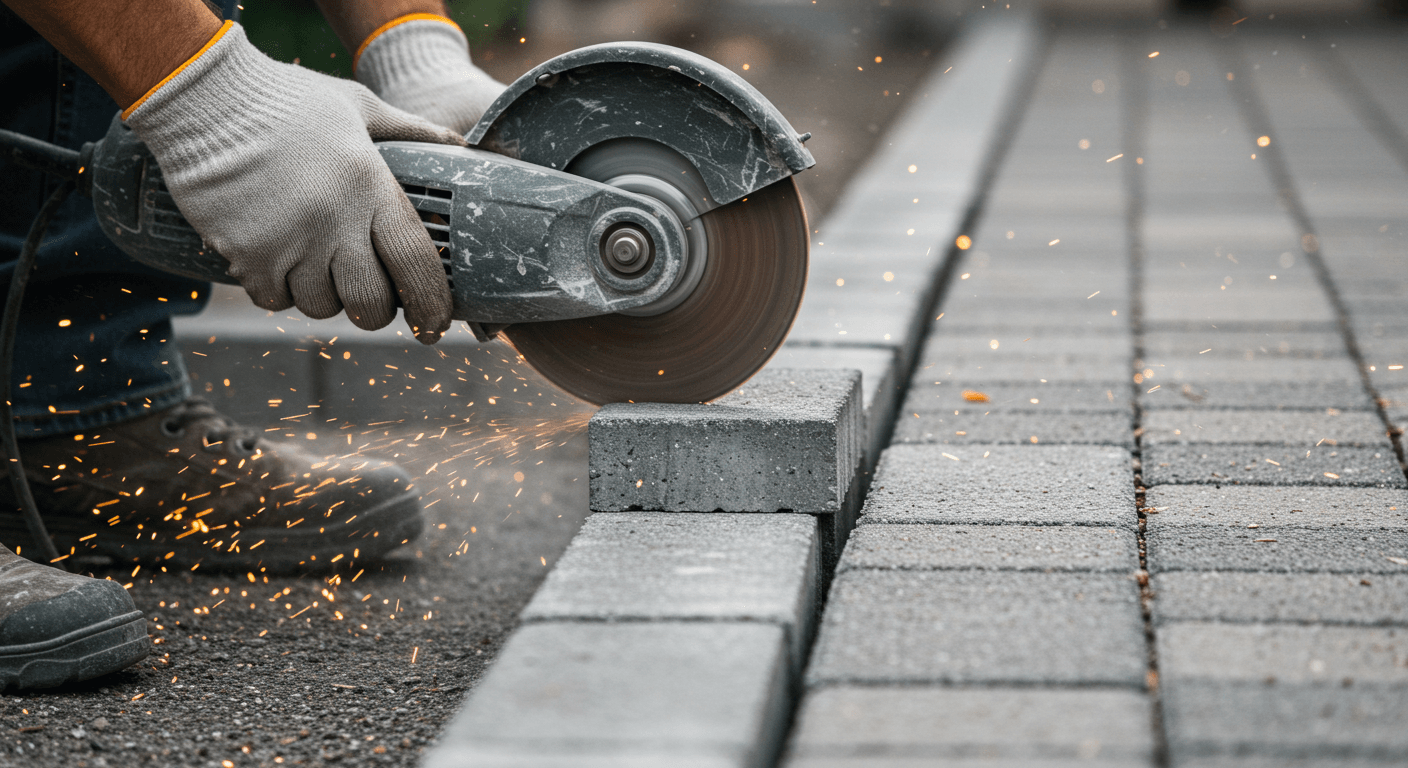
Use a masonry saw or chisel to cut pavers that need trimming. Precision here ensures clean, polished edges that define the look of the entire project.
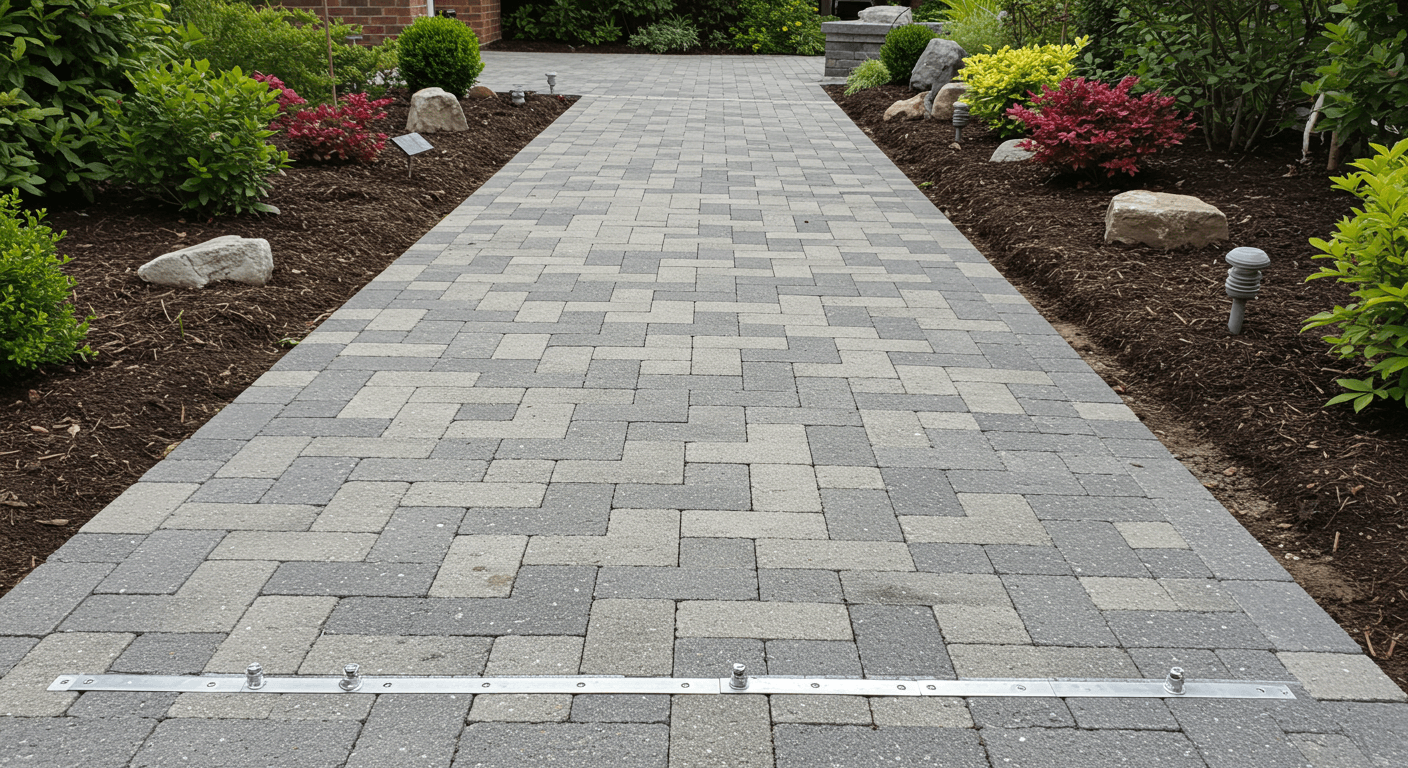
Secure the perimeter with edge restraints to prevent spreading and maintain the structure over time.
Spread jointing sand over the surface and sweep it into gaps. Compact the entire surface again to lock pavers in place. Repeat until joints are filled completely.
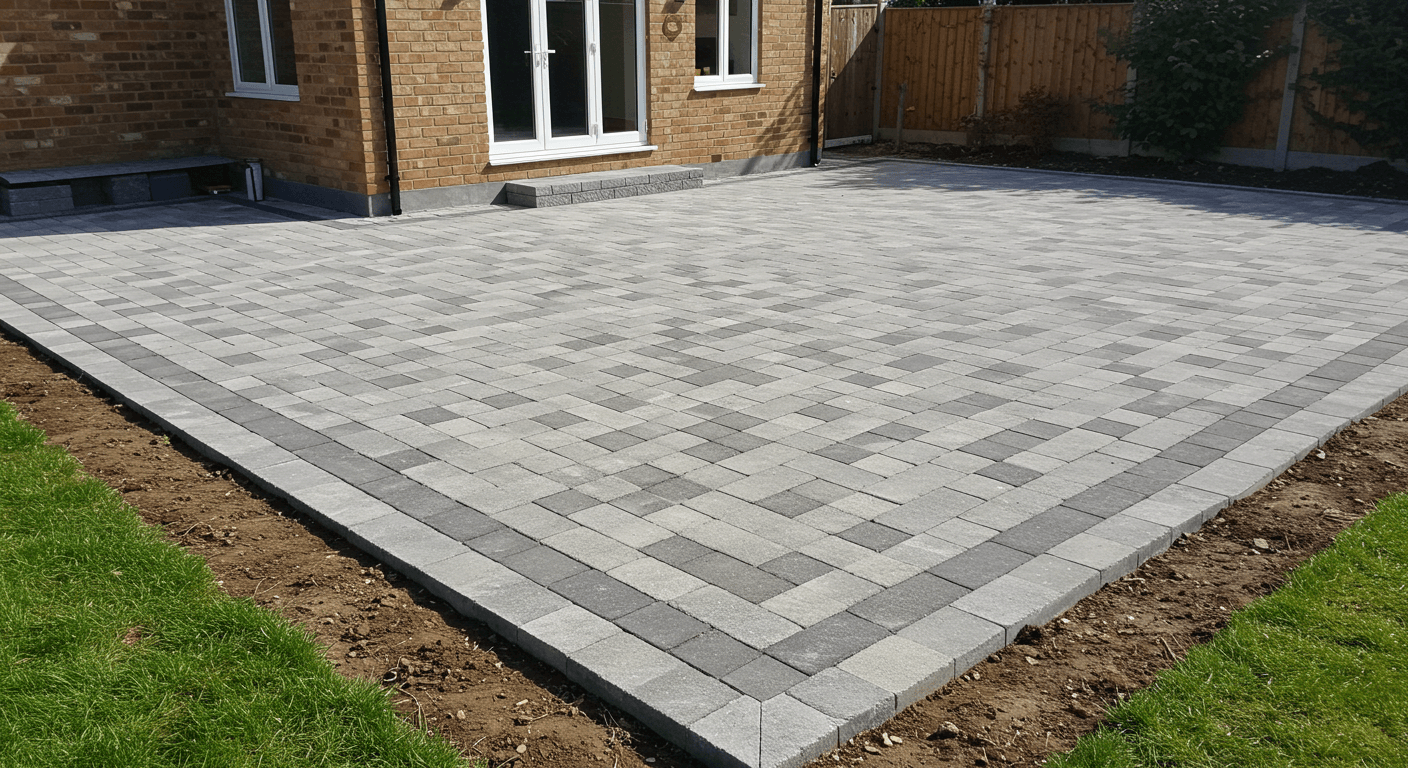
Clean edges are what separate a DIY-looking job from professional craftsmanship. They give the project structure and polish.
Even with preparation, mistakes can ruin the final result.
Professionals focus on details that make installations both beautiful and durable:
According to the Interlocking Concrete Pavement Institute (ICPI), 90% of paver installation issues come from improper base preparation. Investing time in the foundation pays off with decades of durability.
6–8 inches for patios and walkways, 10–12 inches for driveways.
Yes, edge restraints are critical to keeping pavers from spreading.
Yes, but precision takes time. Professionals ensure faster installation with perfect results.
Not required, but sealing enhances color and protects from stains.
With proper installation and maintenance, 30–50 years or more.
A stunning paver patio or walkway isn’t just about looks—it’s about precision. From the solid foundation that prevents sinking to the clean edges that create polish, professional techniques make all the difference. With the right planning, tools, and attention to detail, you can achieve a hardscape that is both durable and timeless.
👉 Want a flawless finish without the hassle? Green to Gorgeous offers expert paver installation with precision, ensuring your project has both beauty and strength for decades.
Let’s Build
Contact us todayGet daily tips and tricks for making your best home.
2025 Green to Gorgeous
