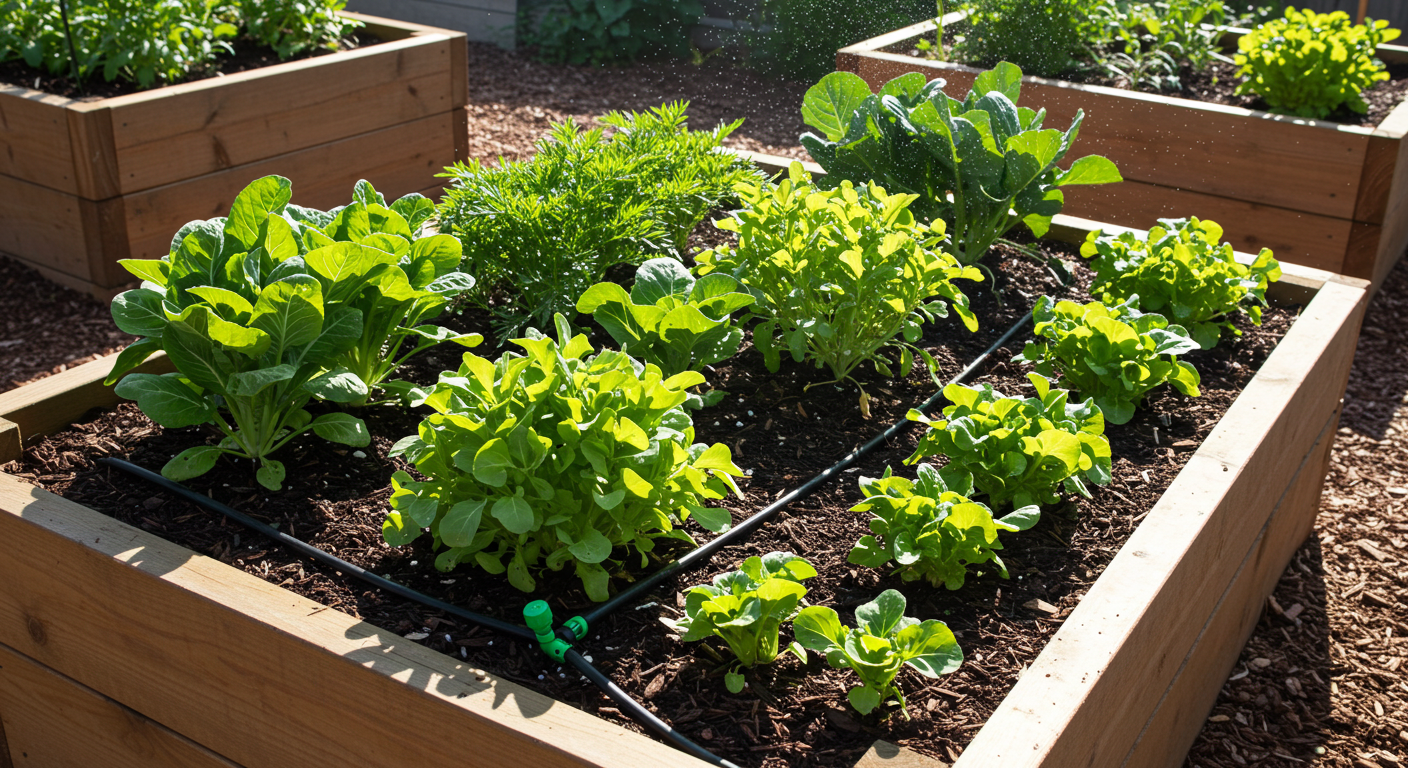
Mulch beds are the unsung heroes of any garden. They suppress weeds, retain soil moisture, regulate temperature, and add a polished look to your landscape. But over time, mulch beds can accumulate weeds, debris, faded mulch, and compacted soil. That’s why a proper mulch bed cleanup is one of the most satisfying garden refresh projects you can do each season.
Not only does it restore beauty, but it also improves plant health and prepares your garden for thriving growth. In this guide, we’ll walk you through everything you need to know about mulch bed cleanup—from tools and techniques to pro tips for long-lasting results.
👉 For professional landscaping and mulch services, visit Green to Gorgeous.

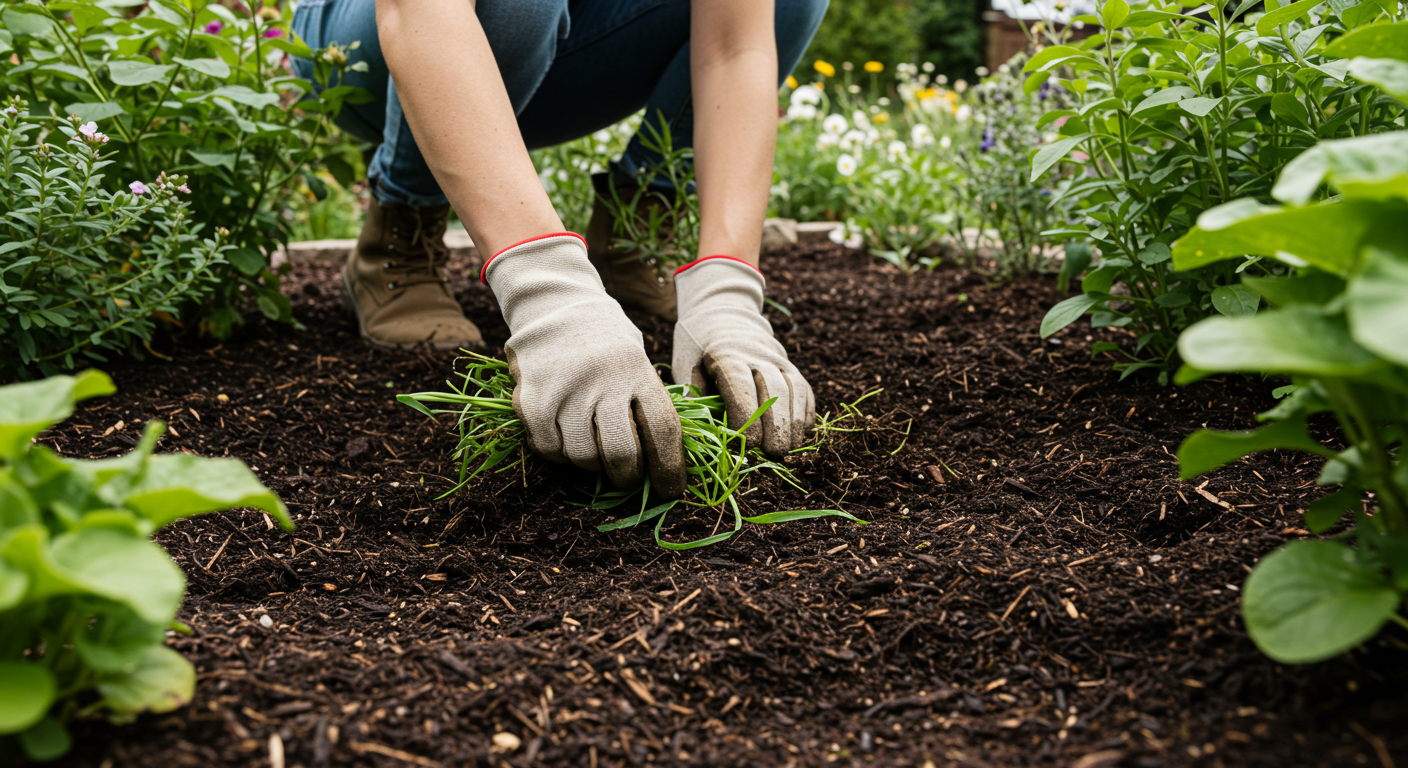
Clear out fallen leaves, branches, and litter using a rake. This improves airflow and prepares the bed for deeper cleaning.
Remove weeds by hand or with a weeding tool, making sure to pull the roots. For stubborn weeds, water the area lightly before pulling to loosen soil.
Prune back overgrown shrubs or flowers encroaching on the bed. This not only improves the look but also ensures plants receive enough sunlight and air.
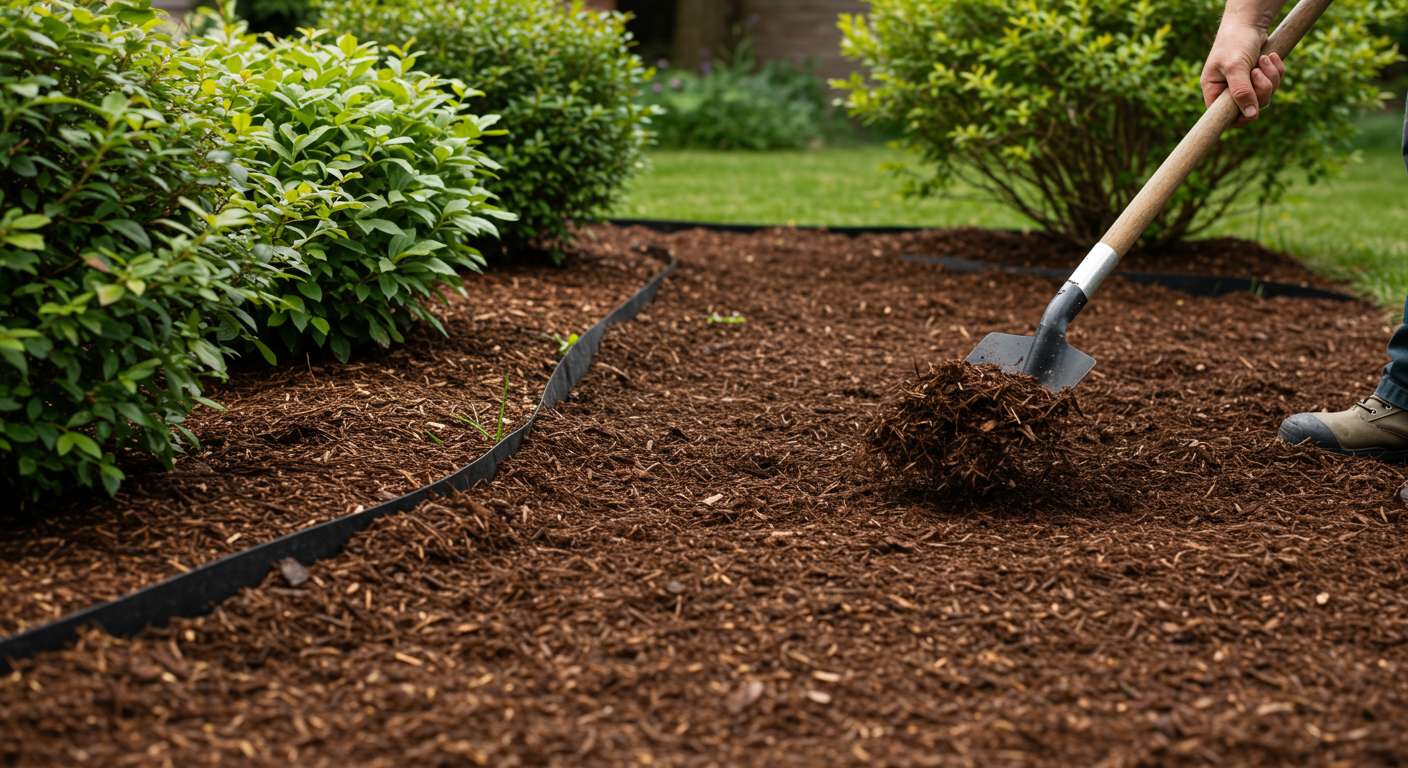
Use a rake or cultivator to loosen compacted mulch. This restores water penetration and prevents mold growth.
If the mulch layer is too thick, scoop out and discard old mulch. Maintain a depth of 2–3 inches maximum.
Define clean, sharp edges around your mulch bed using a spade or edging tool. This step gives your garden a professional finish.
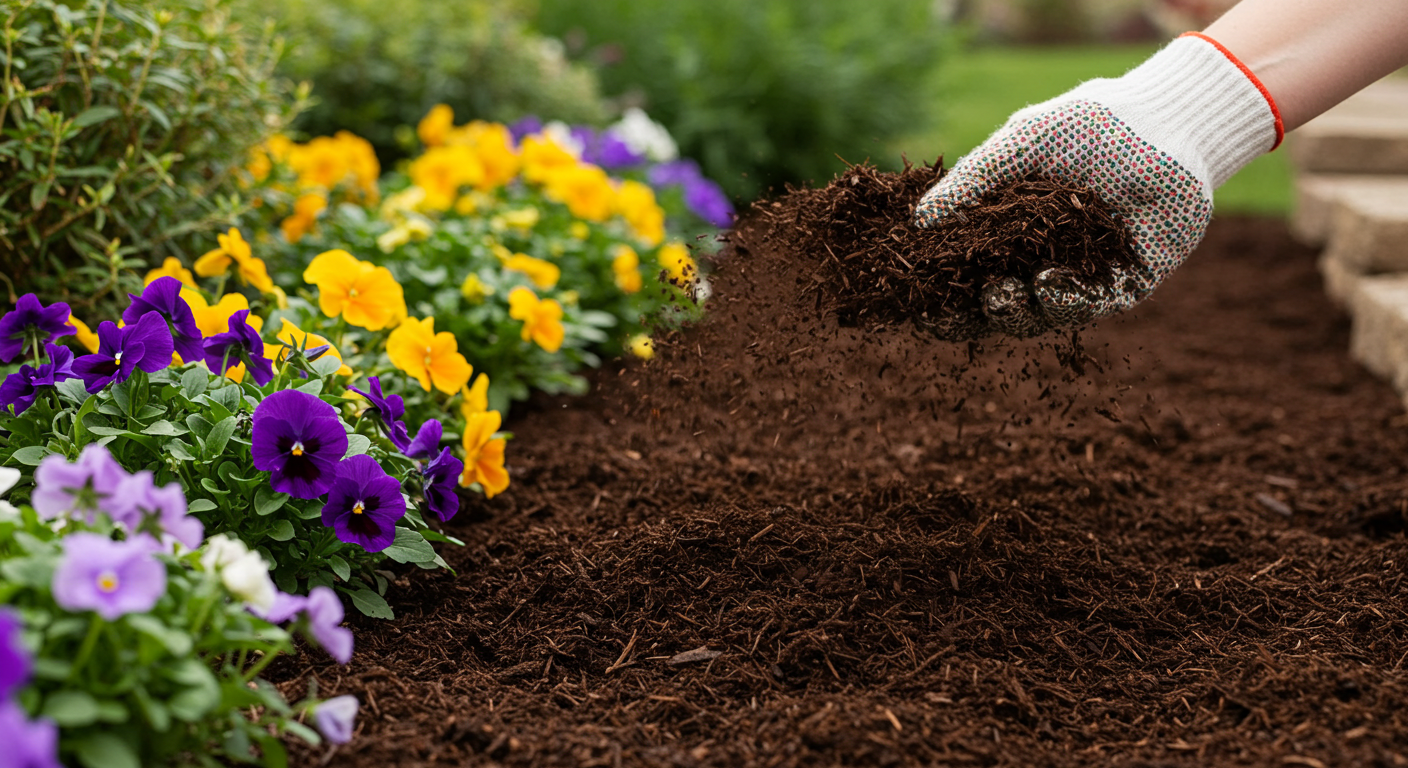
Spread a new layer of mulch evenly. Keep it 2–3 inches deep and leave a small gap around plant stems to prevent rot.
Lightly water the refreshed mulch bed. This helps settle the mulch and lock in moisture.
👉 According to University of Minnesota Extension, organic mulches improve soil health as they decompose, making them a smart choice for sustainable gardening.
❌ Overmulching – More than 4 inches can suffocate plants.
❌ Wrong mulch type – Inorganic mulch (like stones) heats soil excessively.
❌ Neglecting edges – Without defined borders, mulch spills into grass or walkways.
❌ Ignoring pests – Mulch piles can attract insects if not maintained properly.
Typically once a year, but high-traffic or sunny areas may need two refreshes.
Not always. You can rake and loosen old mulch if it’s not too thick or decomposed.
2–3 inches deep for most plants.
Yes, if it’s not moldy or infested. Just fluff and mix it with new mulch.
Compost mulch or shredded leaves, since they improve soil health while covering beds.
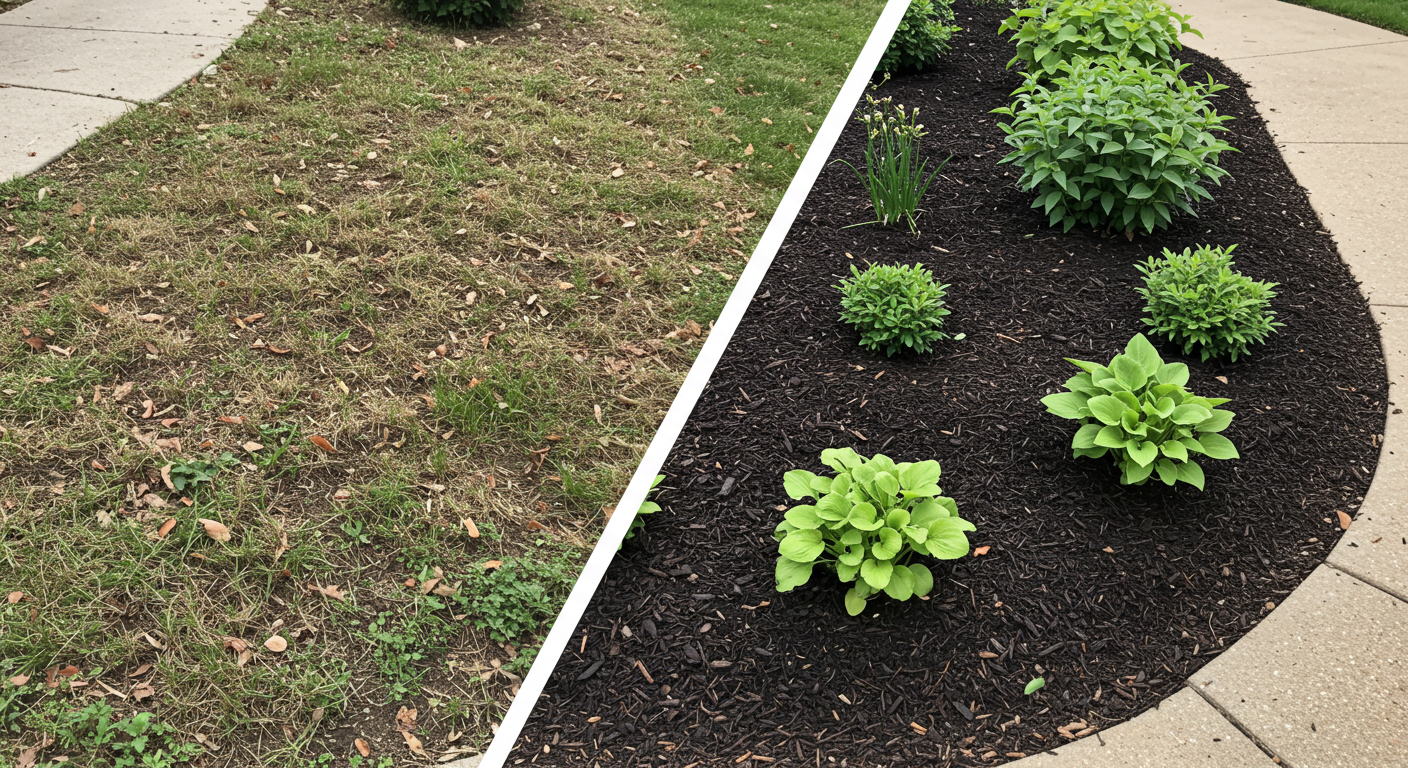
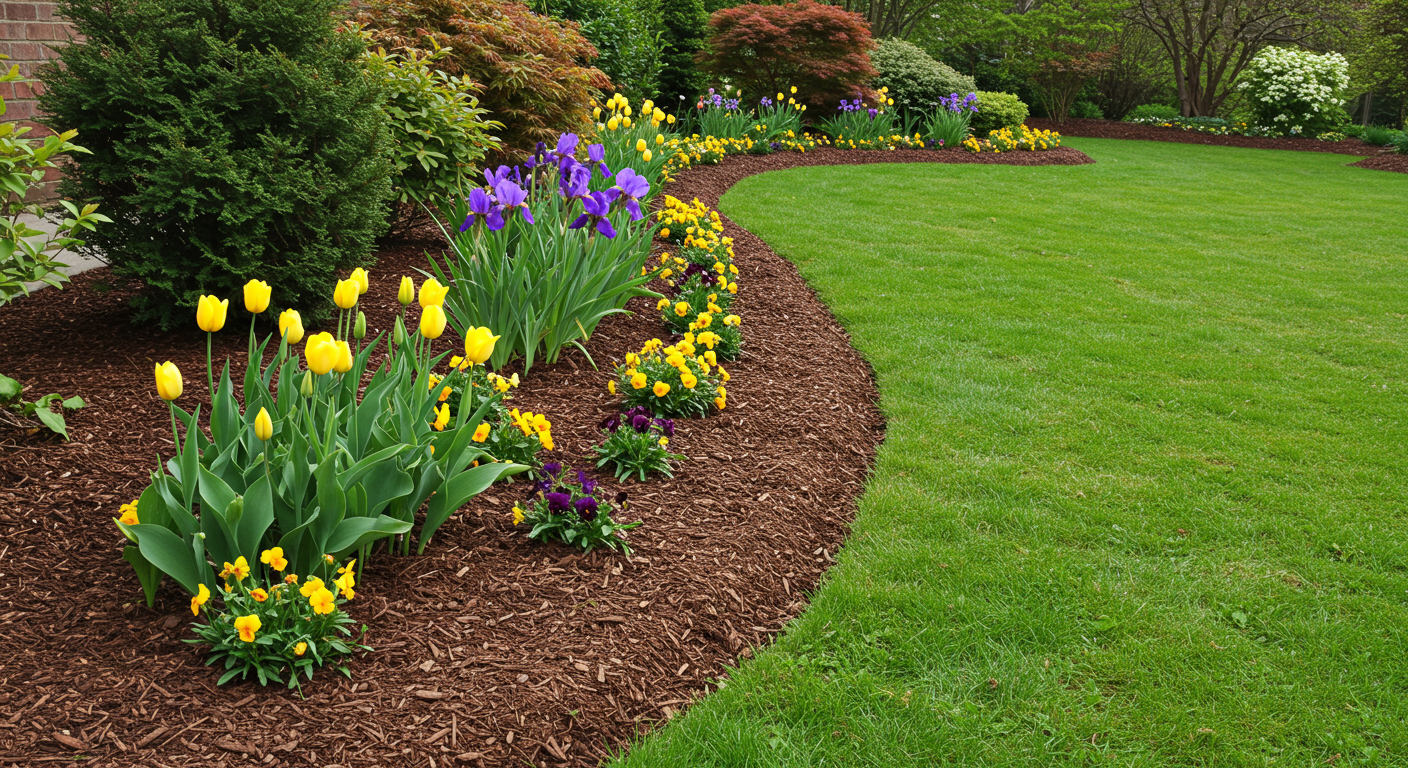
Few gardening tasks are as visually rewarding as a mulch bed cleanup. With just a few hours of work, you can transform faded, weedy beds into fresh, polished landscapes that not only look beautiful but also support healthier plants.
By removing debris, refreshing mulch, and maintaining proper depth, you’ll extend the life of your garden beds and boost curb appeal.
👉 Ready to give your garden a professional touch? Green to Gorgeous offers mulch installation, cleanup, and full landscaping services to refresh your outdoor spaces.
Let’s Build
Contact us todayGet daily tips and tricks for making your best home.
2025 Green to Gorgeous