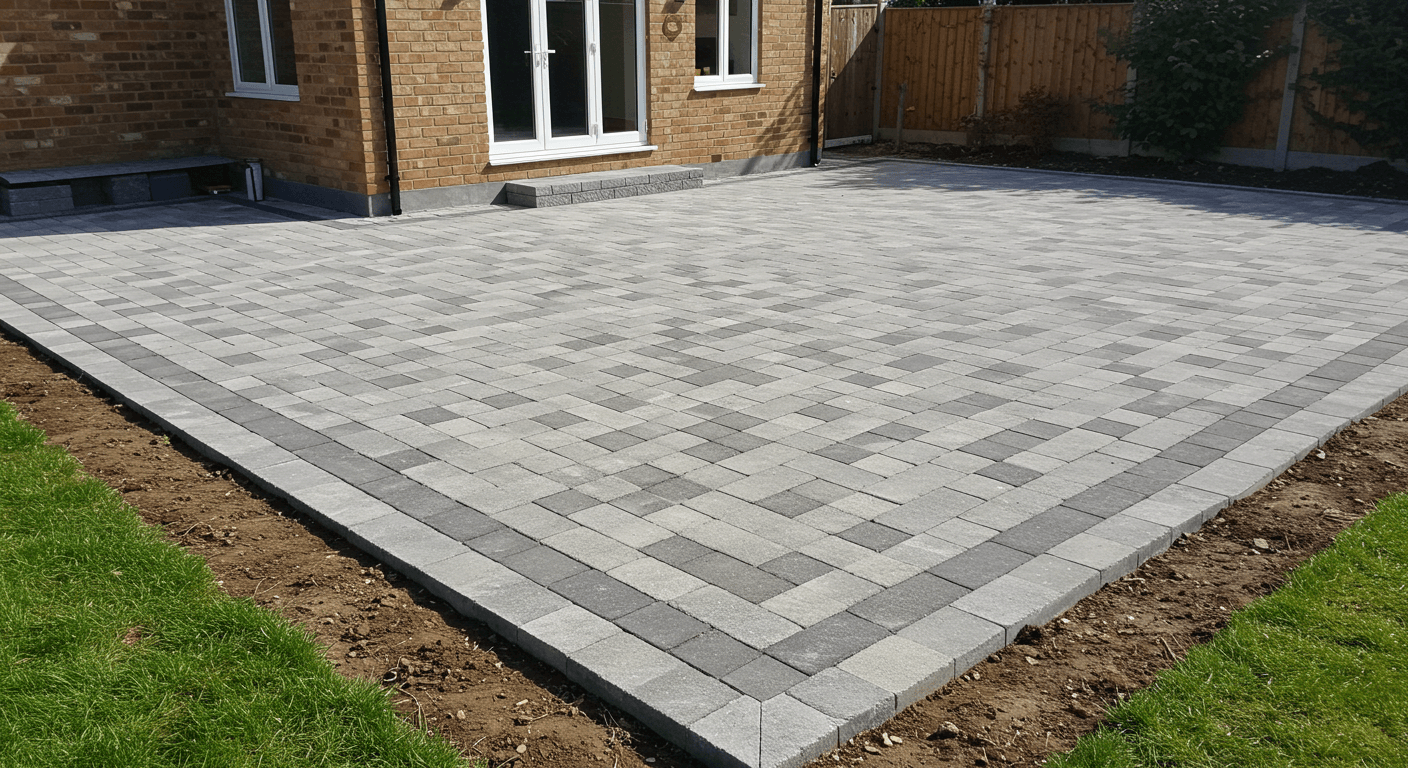
There’s something undeniably charming about a gravel pathway. From historic European gardens to modern suburban yards, gravel has always been a favorite material for paths because it’s affordable, versatile, and timeless. Unlike poured concrete or rigid pavers, gravel feels natural—it shifts underfoot with a satisfying crunch, blends into the surrounding landscape, and allows for endless design flexibility.
For DIY homeowners, learning how to lay a gravel pathway is one of the most accessible landscaping projects. You don’t need heavy machinery or advanced skills, but you do need patience, planning, and proper preparation. The beauty of gravel is deceptive: while it looks effortless once finished, a durable pathway requires careful groundwork. Done right, you’ll have a walkway that resists weeds, drains well, and holds its form for decades. Done poorly, you’ll end up with ruts, scattered stones, and frustration.
This guide will take you through the process step by step, blending professional landscaping know-how with DIY practicality. By the end, you’ll not only know how to build a gravel path—you’ll understand the principles that make it last.
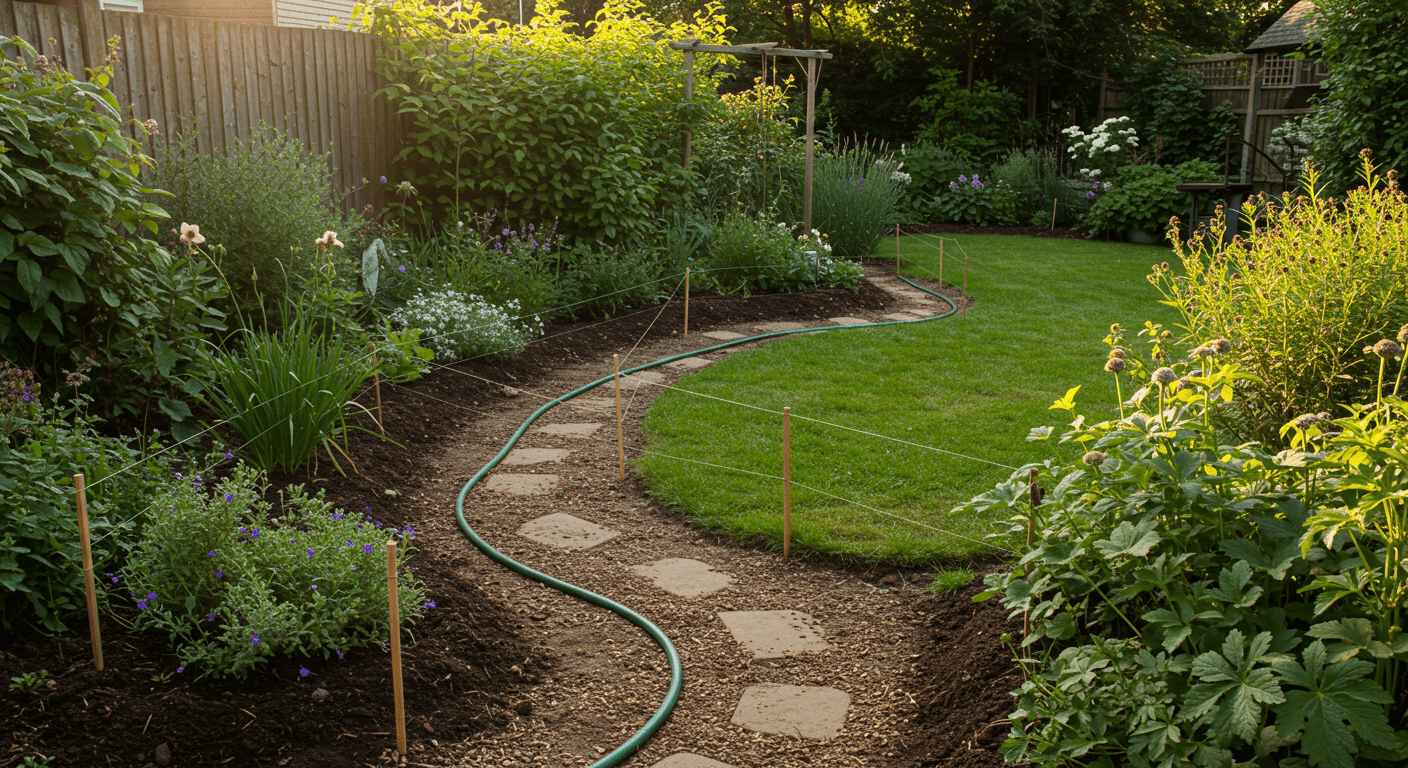
The first step isn’t digging—it’s dreaming. Ask yourself: What role will this pathway serve in my yard?
Each purpose influences design choices, from width to edging materials. Formal paths often look best at 3–4 feet wide, wide enough for two people to walk side by side. Casual trails can be as narrow as 2 feet, creating a more intimate feel.
👉 Walk the route yourself. Lay out a garden hose or string to test the flow. Stand at one end and ask: Does this path lead somewhere meaningful? A good path doesn’t just connect points A and B—it creates an experience.
Gravel isn’t “one size fits all.” The type you choose directly impacts compaction, drainage, and long-term performance.
Best Options for Pathways:
Attractive but Less Practical:
💡 Pro Tip: For comfort, use a two-layer system: a base of coarse gravel for strength, topped with a finer gravel for a smooth walking surface.
This is where most DIYers go wrong. The visible gravel may look good on day one, but if the base isn’t prepared properly, the path will fail within months. Proper prep ensures stability, drainage, and weed control.
Site Preparation in Detail:
By the end of this step, your pathway should look like a shallow trench, framed neatly and ready for its foundation.
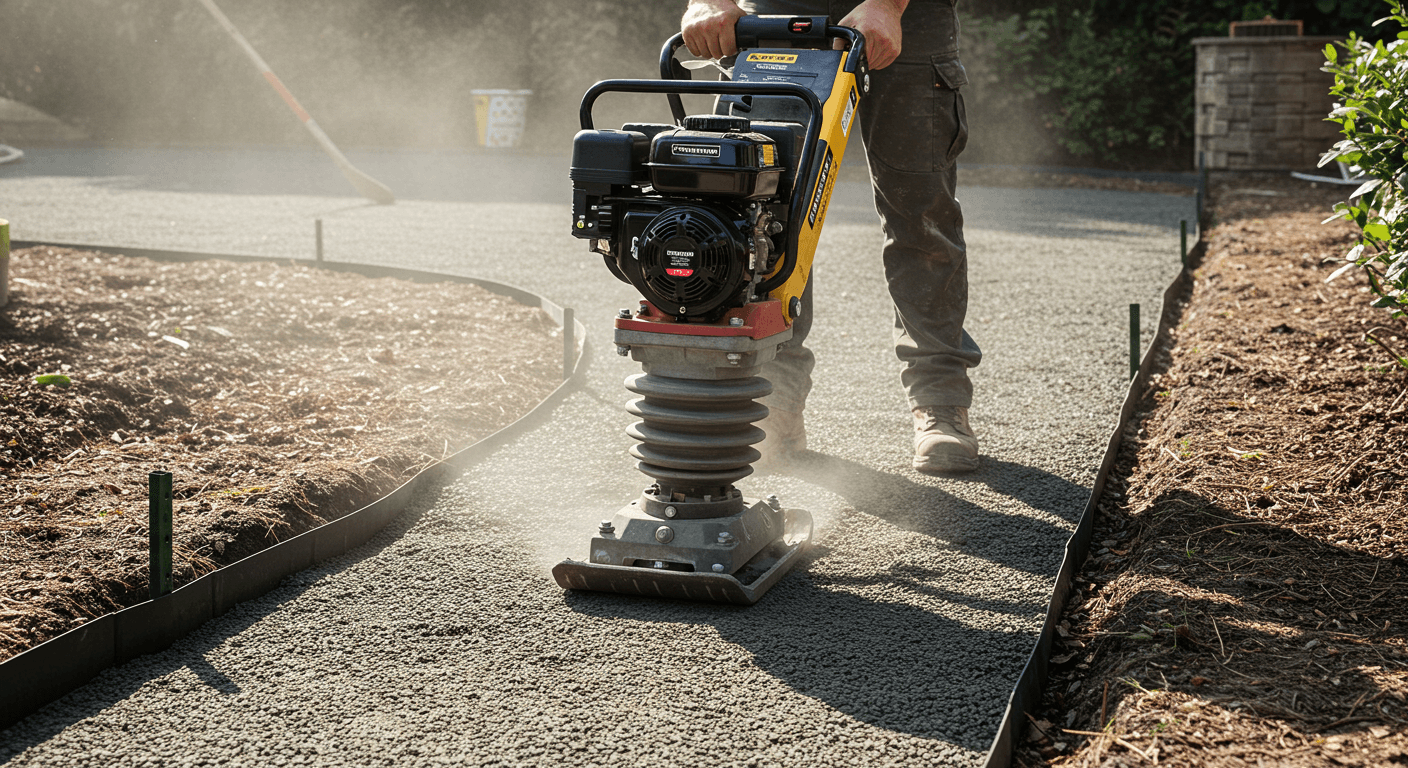
Think of the base as the backbone of your pathway. Without it, gravel shifts, sinks, and ruts form quickly.
👉 For high-traffic areas (like driveways or front entries), you may need up to 6–8 inches of base material for durability.
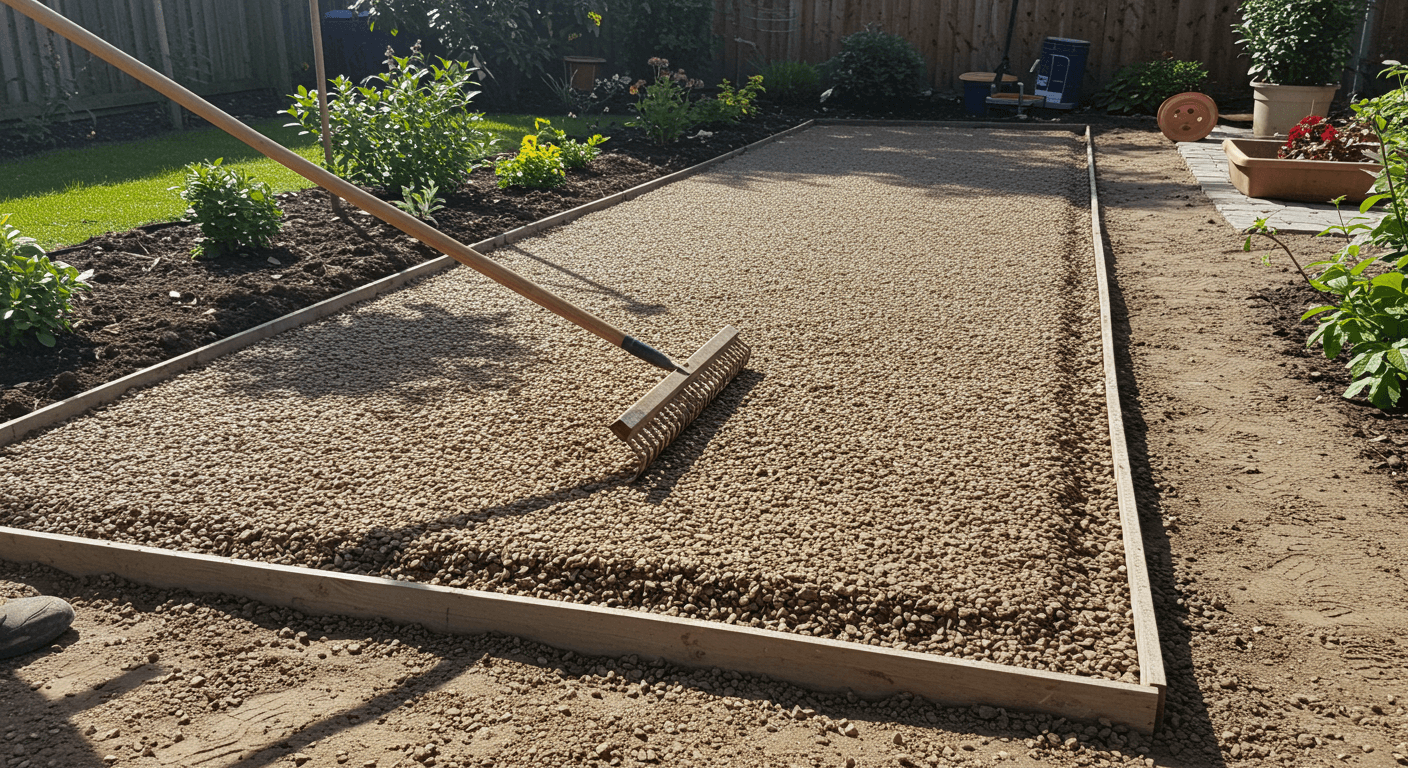
Now comes the satisfying part: bringing your vision to life. Spread your chosen gravel evenly over the compacted base.
Use a landscape rake to level the surface, ensuring gravel doesn’t pile in low spots. Keep the top layer about half an inch below the edging to prevent spillover.
This is the moment where your trench transforms into a real pathway—usable, walkable, and visually pleasing.
Gravel pathways can be purely practical, but details turn them into design features.
These finishing touches create not just a walkway, but an experience—one that feels intentional and welcoming.
Unlike concrete or asphalt, gravel pathways require light but regular upkeep. Fortunately, it’s simple:
With consistent maintenance, your gravel path can last decades with only minor refreshes.
Even simple projects fail if corners are cut. The most common errors include:
Avoid these, and your pathway will look professional and hold up beautifully.
👉 For professional-grade results, Green to Gorgeous recommends layering techniques that mimic commercial hardscape practices.
Yes, except for temporary mulch paths. Without a base, gravel sinks and weeds take over.
2–3 inches of surface gravel over a 2–4 inch base for most pathways.
Crushed limestone or basic crushed stone. Both compact well and are widely available.
Edging is essential. Without it, gravel spreads over time.
Yes, but ensure proper excavation and base compaction. Clay holds water, so drainage slope is crucial.
A gravel pathway might look simple, but the process of creating it reveals the hidden craftsmanship behind outdoor design. From choosing the right gravel and preparing the base to laying, compacting, and finishing with style, every step contributes to both durability and beauty.
The result is more than a walkway—it’s a design element that guides movement, enhances gardens, and adds timeless charm to your outdoor space.
When you lay a gravel pathway with care, you’re not just placing stones. You’re creating structure, guiding journeys, and crafting a piece of your yard’s story.
👉 Ready to start your DIY pathway project? Green to Gorgeous provides design inspiration and professional tips to ensure your gravel path lasts for years to come.
Let’s Build
Contact us todayGet daily tips and tricks for making your best home.
2025 Green to Gorgeous