3 MIN READ

Close-up Hedge Trimming Perfection with Every Pass

Lawn Care

Written By

AR Abir

Published

September 16, 2025

There’s something deeply satisfying about seeing a hedge transform with each clean swipe of the trimmer. Every pass reveals crisp edges, smooth lines, and uniform growth. While many homeowners focus on the “big picture” of hedge maintenance, the real artistry comes in the details. Close-up hedge trimming perfection is achieved when every cut is deliberate, controlled, and enhances the overall health and appearance of the plant.

With modern electric trimmers and the right techniques, it’s easier than ever to achieve professional-quality results. This guide explores how to trim hedges with precision in every pass, ensuring both beauty and long-term plant health.

Why Close-Up Precision Matters

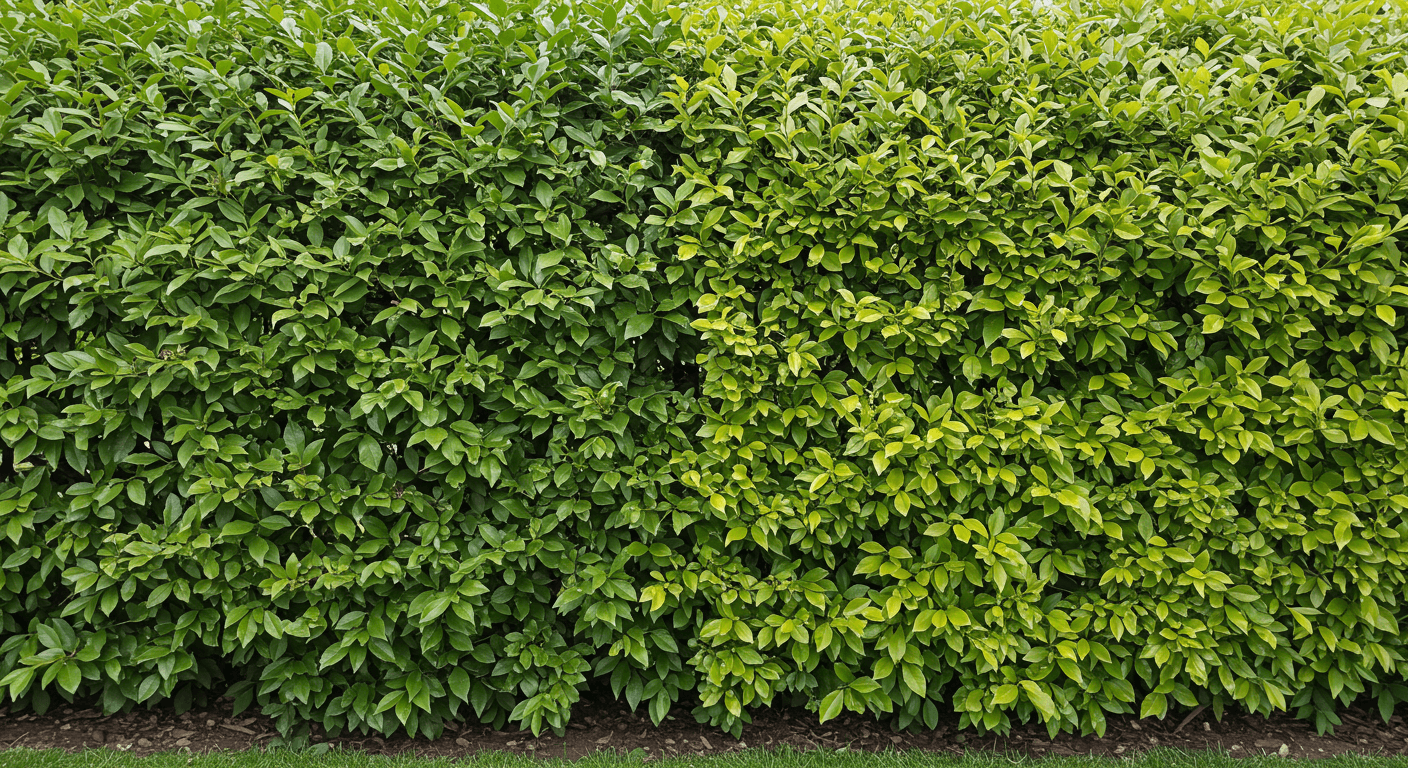
Hedge trimming isn’t just about keeping plants in shape. Close-up precision has both visual and biological benefits:

  • Healthier growth – Clean cuts prevent tearing and allow plants to recover quickly.
  • Consistency – Every pass ensures the hedge looks smooth, not patchy.
  • Density – Frequent light trimming encourages thicker foliage.
  • Professional finish – Crisp lines elevate curb appeal instantly.

👉 For flawless hedge care without the effort, Green to Gorgeous offers professional trimming services designed for lasting beauty.

Tools for Close-Up Hedge Trimming Perfection

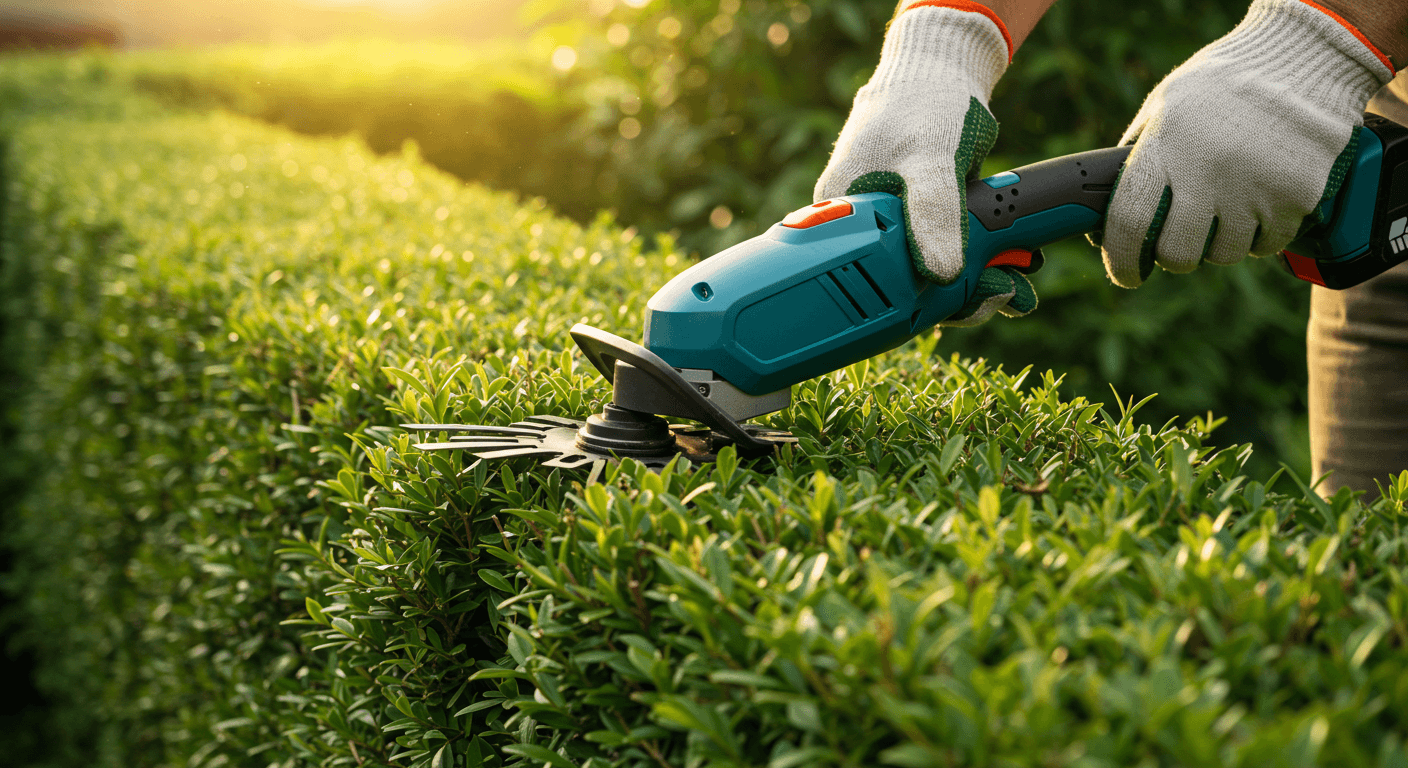
The right tools can make the difference between a hedge that looks amateur and one that looks expertly sculpted.

  • Electric Hedge Trimmers – Cordless models provide portability and precision.
  • Sharp Blades – Dual-action blades reduce vibration and produce smooth cuts.
  • Hand Shears – Ideal for fine detailing in tight spots.
  • Safety Gear – Gloves, goggles, and ear protection are essential for close-up work.

💡 Pro Tip: Keep your blades sharp and clean. Dull blades tear branches instead of slicing them, stressing the plant.

Preparing for Close-Up Trimming

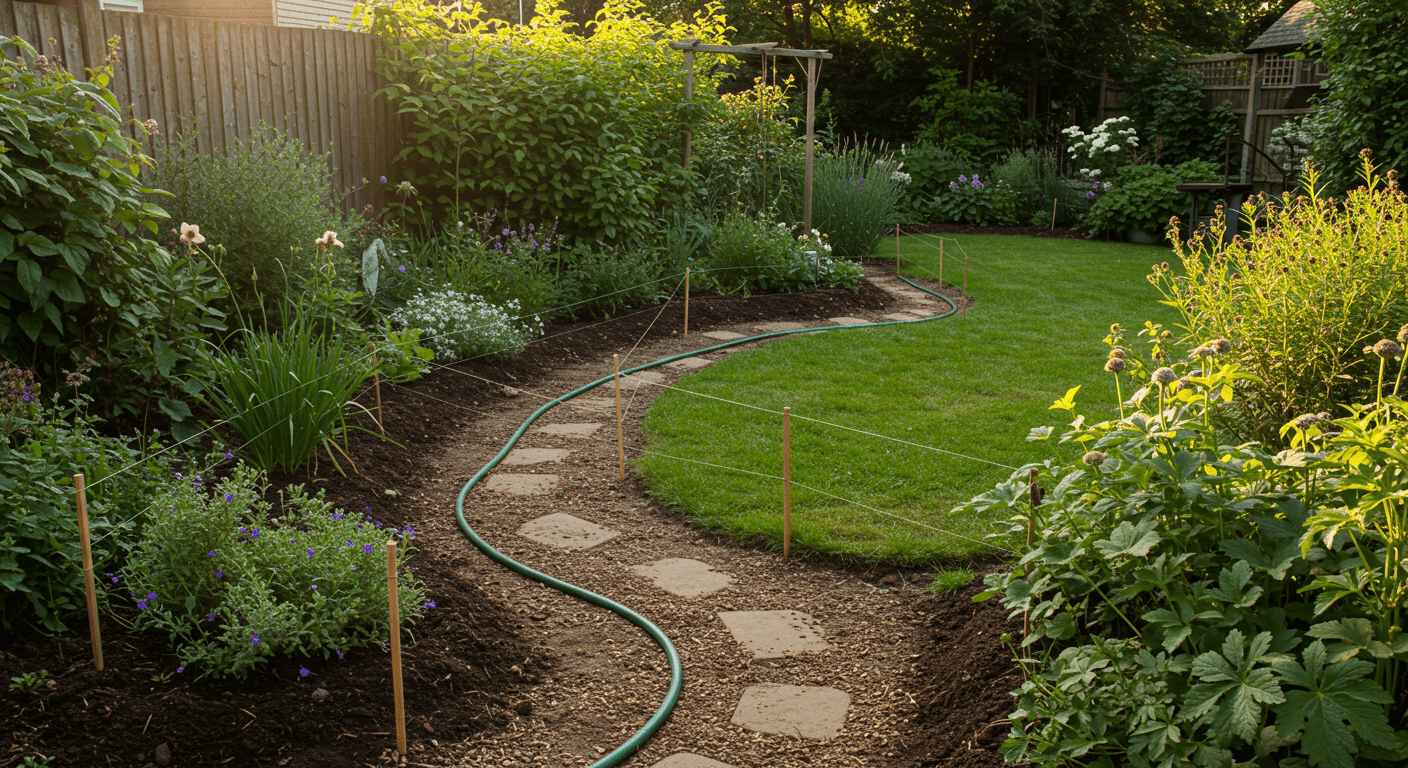
Before beginning, preparation helps achieve perfection:

  1. Clear the Area: Remove garden tools, chairs, or debris around the hedge.
  2. Inspect the Hedge: Check for bird nests or pests before trimming.
  3. Define the Shape: Use guide strings for straight lines or visualize curves for natural designs.
  4. Safety First: Wear protective gear and ensure your footing is stable for close work.

Step-by-Step: Achieving Perfection with Every Pass

Step 1: Start with the Sides

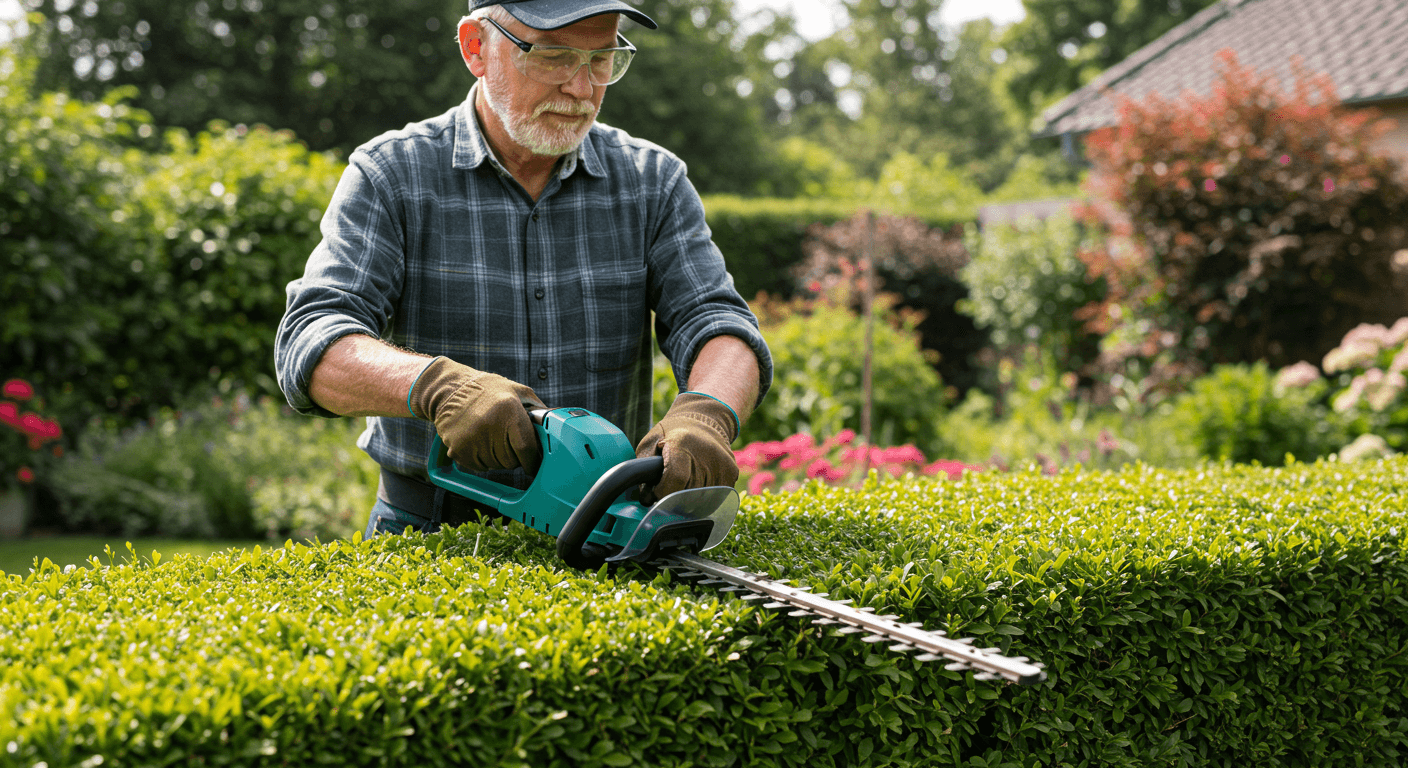
Trim in smooth, controlled motions from bottom to top. Keep the hedge slightly wider at the base to ensure sunlight reaches all levels.

Step 2: Focus on Each Pass

Move slowly and deliberately. Overlapping passes create a uniform surface with no gaps or rough spots.

Step 3: Step Back Frequently

Even in close-up work, perspective matters. Step back every few minutes to check progress and symmetry.

Step 4: Tackle the Top Last

Finish by leveling the top. Use guide strings or a level trimmer pass for a crisp, straight line.

Step 5: Clean Up and Refine

Use hand shears for final touch-ups, removing stray twigs or uneven edges.

Hedge Shapes Perfected by Close-Up Work

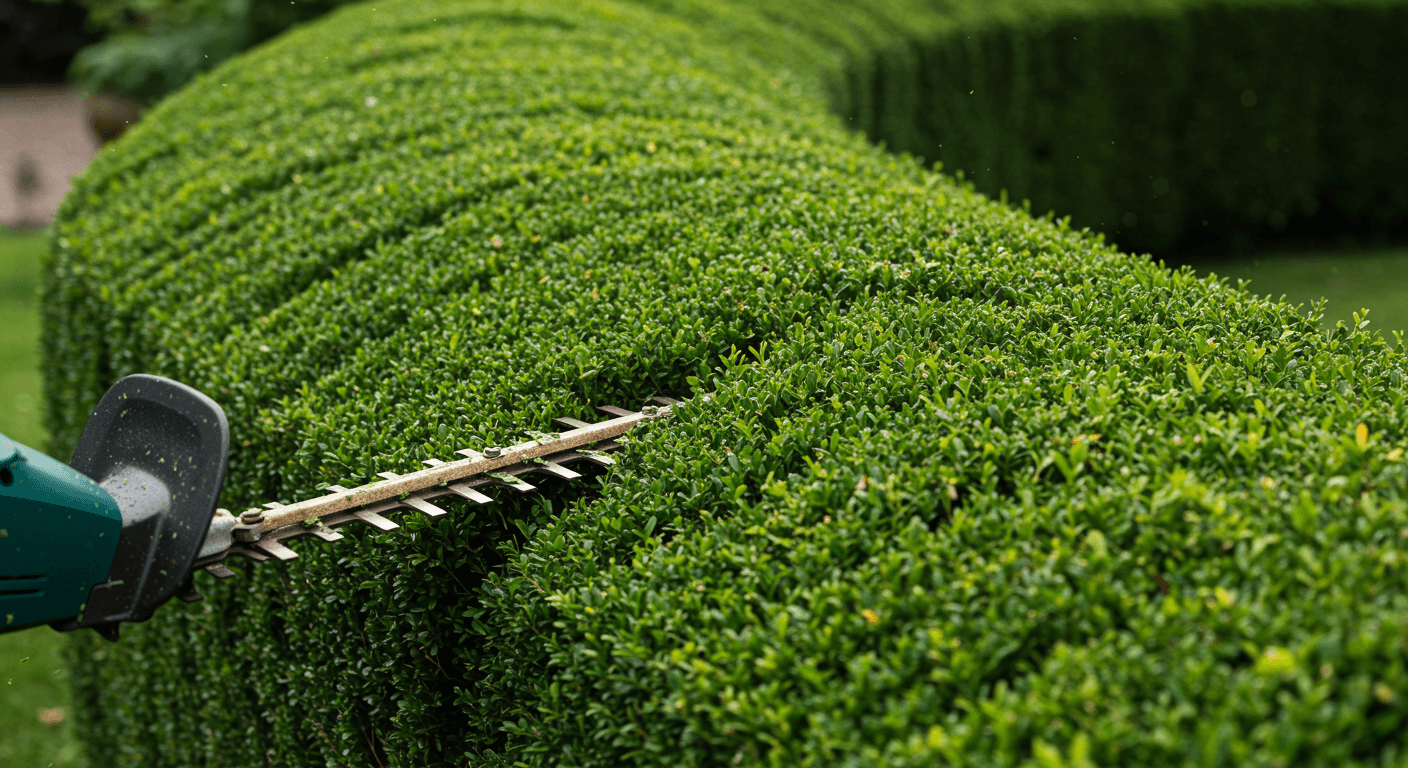
Electric precision trimming allows you to master both simple and creative hedge shapes:

  • Formal straight edges – Classic and elegant for modern landscapes.
  • Rounded domes – Softer look with natural flow.
  • Angled tapers – Wider at the bottom for balanced growth.
  • Decorative topiary – Spheres, spirals, and more, achieved with patience and close-up detail.

Mistakes to Avoid in Precision Trimming

Even close-up work can go wrong if you’re not careful.

  • Over-trimming and cutting too deep into old wood.
  • Moving the trimmer too quickly, causing jagged surfaces.
  • Forgetting to overlap passes, which leaves uneven patches.
  • Skipping seasonal trims, which makes precision harder later.
  • Neglecting cleanup—fallen clippings left at the base can harbor pests.

Pro Tips for Professional Results

  • Trim little and often rather than heavy cuts once a season.
  • Work in shaded conditions where possible—bright sunlight hides imperfections.
  • Keep your stance steady and use both hands for better control of the trimmer.
  • Always trim when the hedge is dry to avoid clogging blades.
  • Mulch and water hedges after trimming to reduce plant stress.

According to the Royal Horticultural Society (RHS), frequent light trimming produces healthier, denser hedges compared to irregular heavy pruning.

Seasonal Timing for Close-Up Hedge Trimming

  • Spring: Light shaping encourages new growth.
  • Summer: Heavier trimming for control and design.
  • Fall: Tidy up to maintain shape before dormancy.
  • Winter: Avoid heavy trimming to prevent cold damage.

FAQs About Hedge Trimming Precision

Q1. How often should I trim for precision?

Every 6–8 weeks during growing season for most hedge species.

Q2. Can cordless electric trimmers provide close-up precision?

Yes, modern models are lightweight and powerful, ideal for detailed work.

Q3. What’s the best shape for beginners?

Flat, straight hedges are easiest to manage. Rounded tops take more practice.

Q4. Will close-up trimming harm the hedge?

Not if done lightly and consistently—it actually promotes denser growth.

Q5. Should I hire a professional for creative designs?

Yes, complex topiary requires skill and experience best left to pros.

Conclusion: Perfection, Pass by Pass

Precision is the secret to creating truly exceptional hedges. While electric trimmers make the job easier, the real artistry lies in a patient and consistent approach. By focusing on the details of each cut, you can achieve a healthy, uniform, and professionally manicured look that sets your hedges apart.

Related Blogs

Explore Article

October 16, 2025

16 Console Table Ideas You Need for Functional Style

Decor Ideas

Lawn Care

September 18, 2025

Lawn Mowing in Action: The Key to a Perfect Yard

Landscaping

Lawn Care

Let’s Build 

Contact us today

2025 Green to Gorgeous