Ever felt like your dry-erase board looks more like a classroom leftover than part of your stylish home office or creative space? Many people underestimate how much visual appeal can impact productivity. When your workspace feels inspiring, staying organized becomes easier and more enjoyable. The right dry-erase board design can elevate your environment — blending function with personality.
In this article, we’ll explore 18 creative ways to decorate and style your dry-erase board for both aesthetics and efficiency. From framed boards that look like art to magnetic setups that double as vision boards, these ideas are practical, stylish, and easy to implement. Whether you’re designing for work, study, or daily planning, you’ll discover simple ways to transform a plain board into your favorite wall feature.
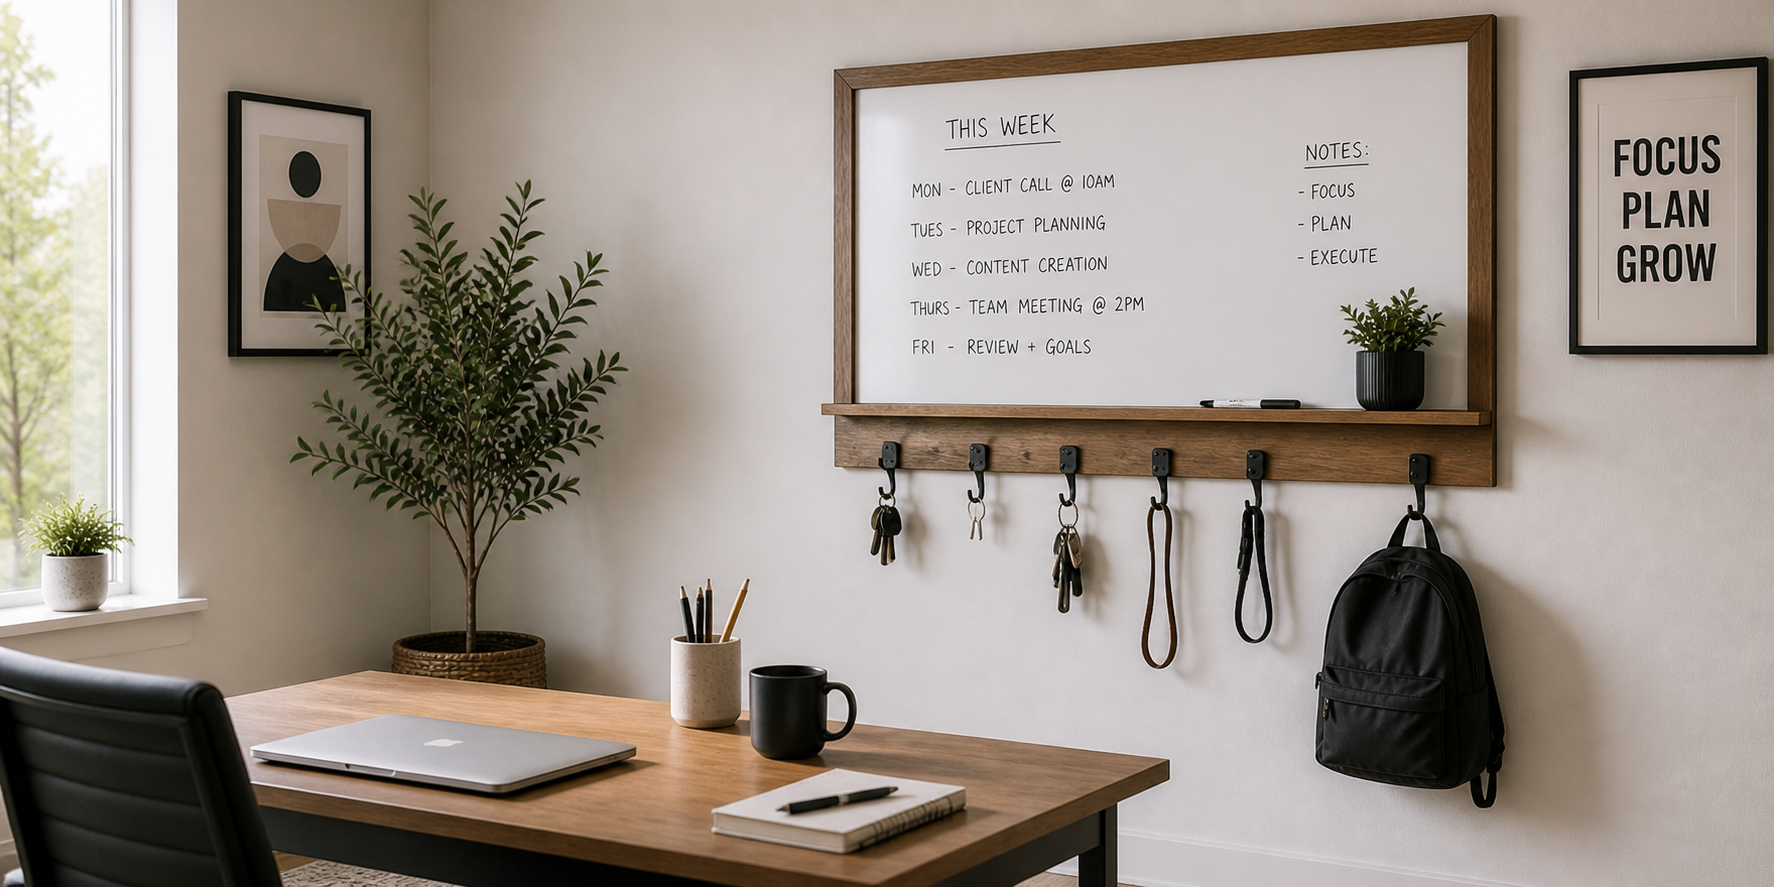
If your dry-erase board feels too utilitarian, framing it gives it instant sophistication. A clean border turns a simple tool into a statement piece. Imagine a large whiteboard outlined by rustic oak trim or brushed brass edges — it suddenly feels intentional, like part of your interior design rather than an afterthought. The warmth of wood softens modern spaces, while metal creates a sleek, professional finish.
Choose trim styles that complement your decor: reclaimed wood for cozy or farmhouse interiors, matte black steel for industrial, or gilded edges for glam. Use construction adhesive or mounting brackets to secure the frame around your board.
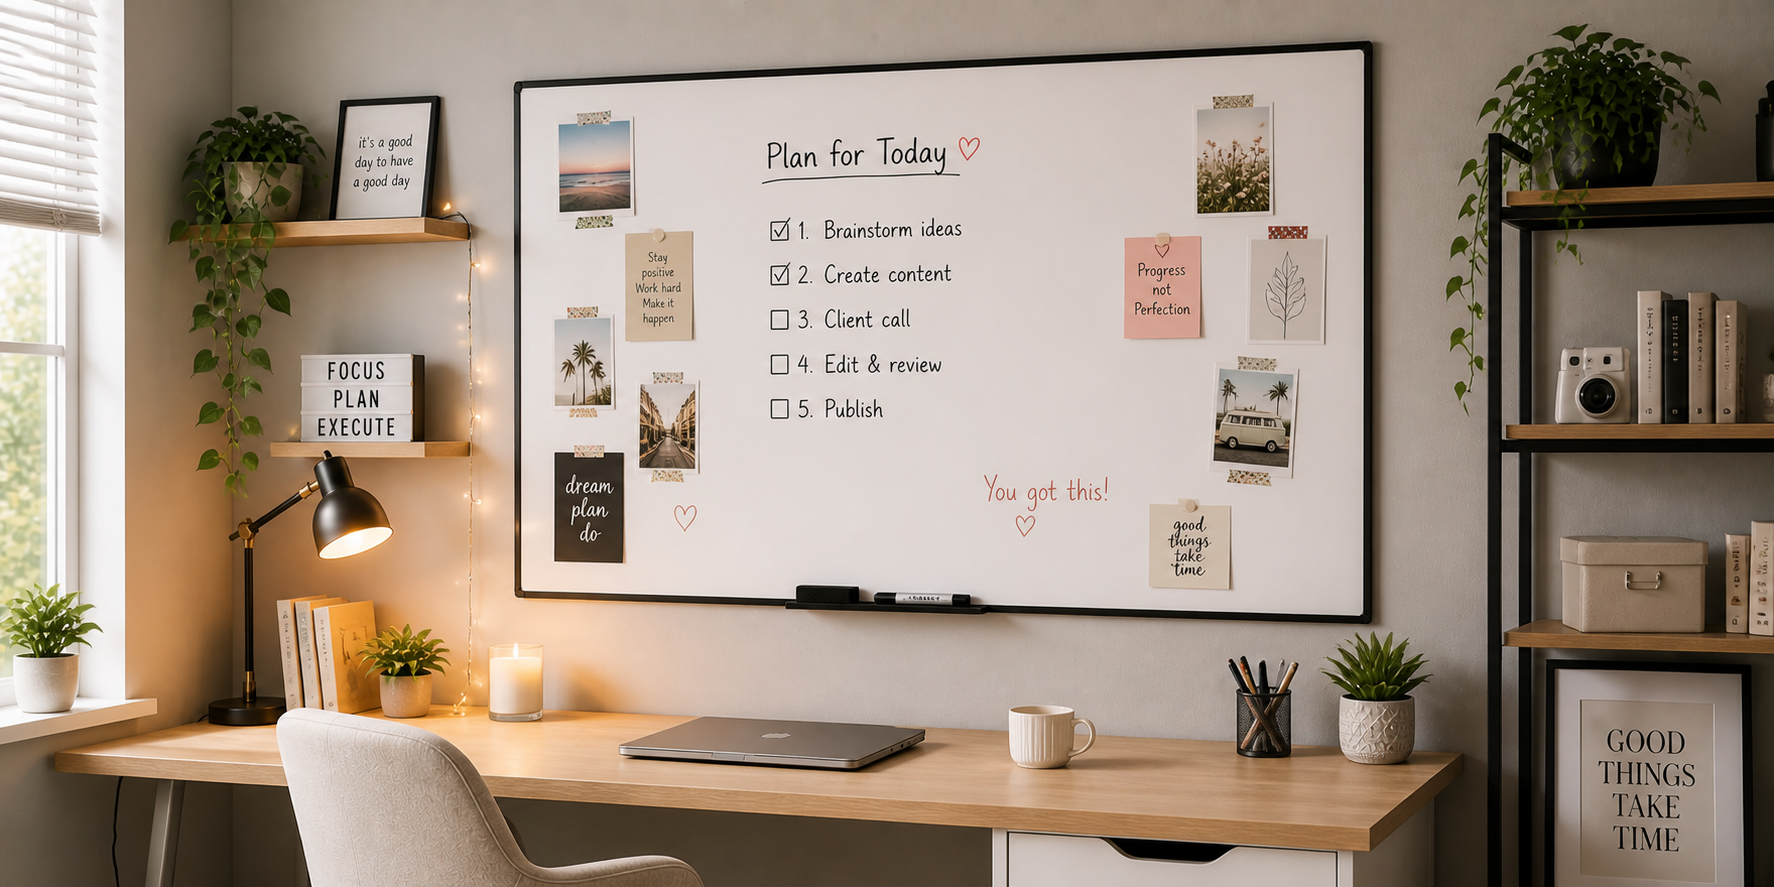
Want your board to do more than just display notes? A magnetic surface expands its usefulness while adding dimension. Picture sleek magnetic sheets laid beneath your dry erase surface, allowing you to pin photos, goals, or inspirational clippings alongside your written notes. The mix of visuals and handwriting transforms your workspace into a dynamic creativity zone.
Use decorative magnets that match your aesthetic — minimalist black, rose gold clips, or geometric designs. You can even customize them with photos or motivational quotes. This adds both personality and practicality to your everyday workflow.
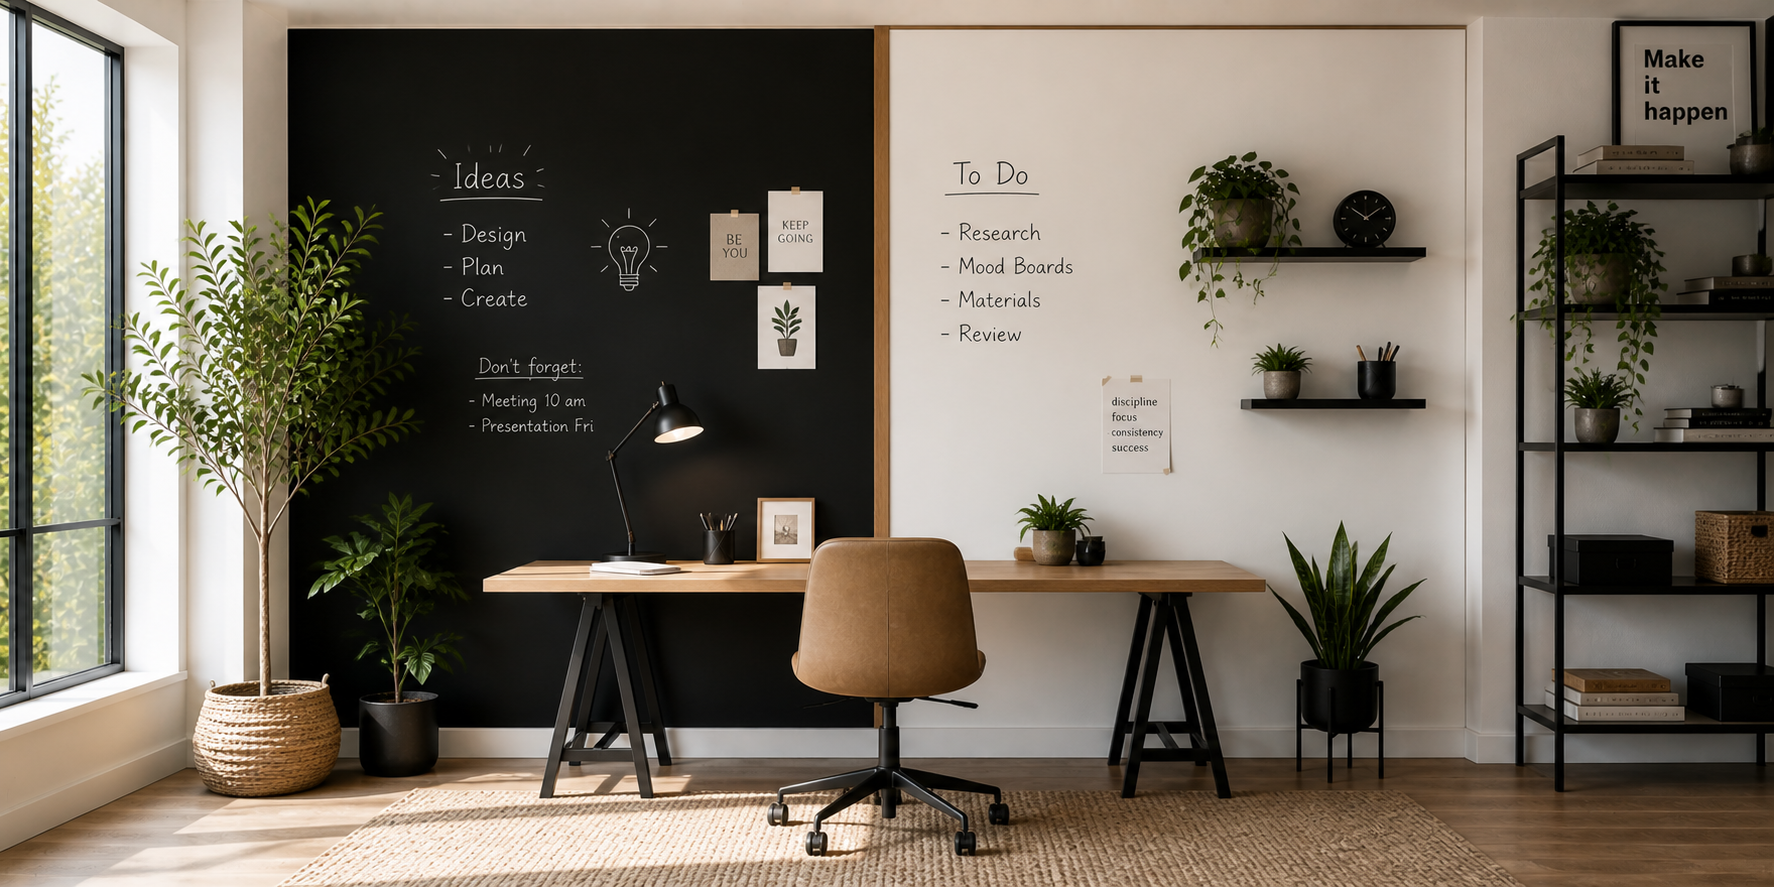
Why choose between styles when you can blend both? Combining chalk and whiteboard sections adds versatility and visual contrast. Envision a wall divided into two tones — matte black chalkboard on one side and a glossy white dry erase surface on the other. The dark half grounds the space with texture, while the white section keeps things light and modern.
Use the chalkboard side for sketches, doodles, or quotes, and the whiteboard for schedules or to-do lists. Add thin molding between sections for a clean separation. This combo wall works especially well in creative studios, kids’ rooms, or collaborative offices.
Turn your whiteboard into the centerpiece of a gallery-style display. Framed prints, small mirrors, and typography art can complement your workspace while keeping the board practical. Picture a mid-sized dry erase board surrounded by minimal black-and-white art prints. The layout feels cohesive and intentional, softening the starkness of the board itself. The result? A visually stimulating setup that still encourages focus. Keep the surrounding frames consistent in style for harmony. You can even rotate seasonal art or add personal photos to keep the space fresh and inspiring.
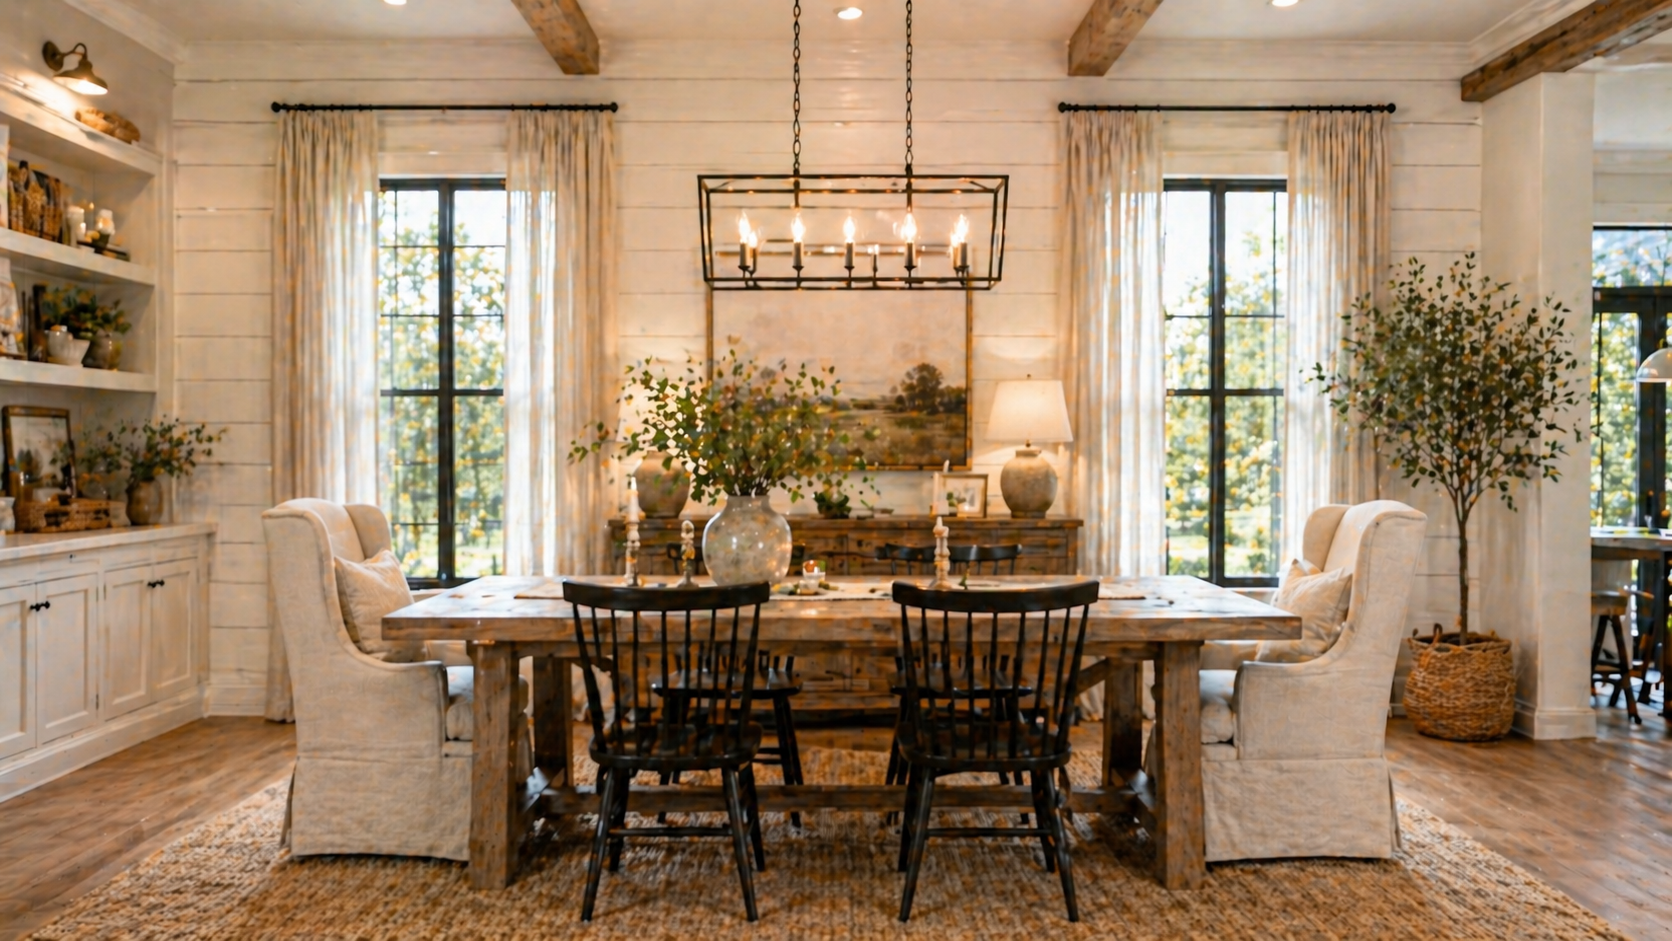
A floating shelf or ledge beneath your board is a game-changer — it organizes supplies and adds a polished look. Imagine a smooth wooden shelf just below the board holding colorful markers, an eraser, and a small potted plant. It not only keeps tools handy but also enhances the board’s presentation. The extra horizontal line visually balances the wall, making the space look intentionally styled. Choose materials that tie in with the rest of your furniture — wood for warmth, metal for industrial charm, or painted MDF for minimalist appeal.

If you love organization and visual order, washi tape can transform your board into a clean, structured planning zone. Picture perfectly aligned rows and columns marked by thin, colorful strips — creating sections for tasks, goals, and notes. Washi tape peels off easily without residue, so you can redesign your layout anytime.
Choose neutral tones for a subtle look, or vibrant colors for a creative boost. You can even layer metallic tape for modern flair. Combine with labeled categories like “Today,” “In Progress,” and “Goals” for effortless tracking.
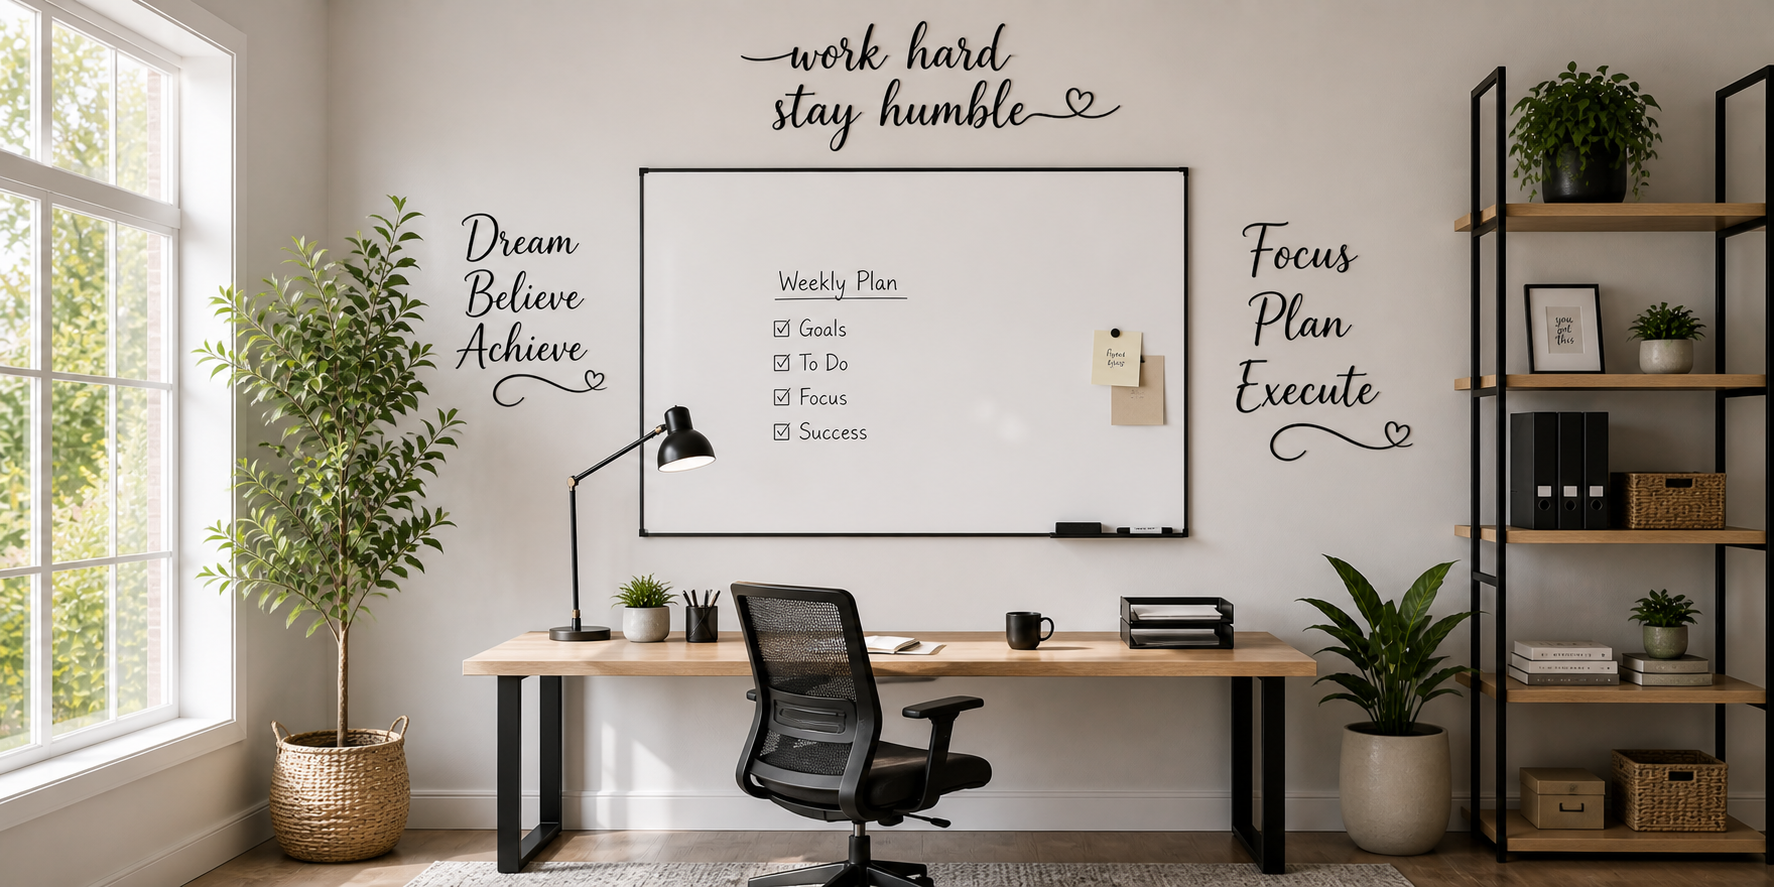
Sometimes all it takes is a few powerful words to make your workspace feel personal and motivating. Adding vinyl decals or handwritten quotes above or around your board creates daily inspiration. Imagine a whiteboard framed by elegant cursive text that reads “Make It Happen” or “Create Every Day.” The typography becomes part of the decor while reinforcing a positive mindset.
You can apply removable vinyl lettering, hand-painted designs, or print decals that suit your color palette. If you’re going minimalist, stick to black script on a white wall — simple and striking.
Lighting can completely change how your whiteboard looks — and how you feel when using it. Soft illumination highlights the surface, making it easier to read notes and giving your space a warm, creative glow. Picture a set of LED strip lights outlining your board or a wall-mounted sconce casting a soft halo around its edges. The light draws focus and adds depth to an otherwise plain wall.
Choose warm white bulbs for a cozy, home-office vibe or cool white for clarity in work settings. Motion-sensor options can even turn on automatically when you approach — practical and futuristic.
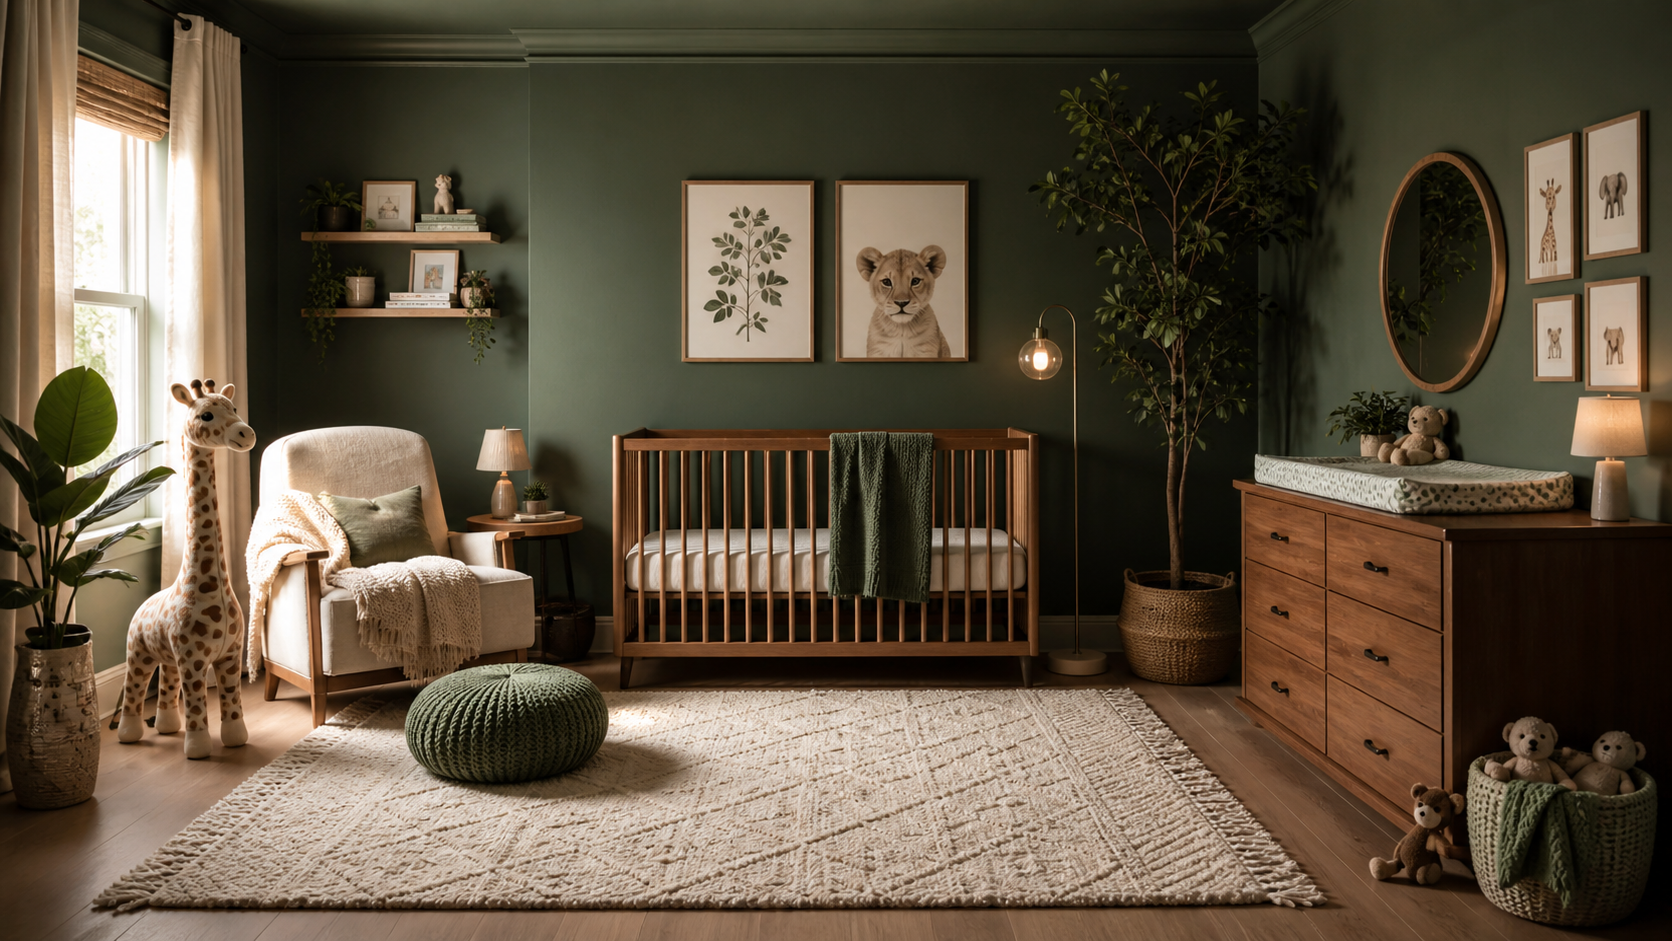
Why stop at decorating the board itself when the wall behind it can make an even stronger statement? An accent wall sets the stage and defines your workspace. Imagine your dry-erase board mounted against a deep navy, forest green, or charcoal wall — the contrast instantly elevates its presence. Add brass or wooden framing for warmth, and the result feels both artistic and functional. Accent walls can also help zone your space, especially in open layouts. Pair with minimalist furnishings and consistent tones to avoid visual chaos.

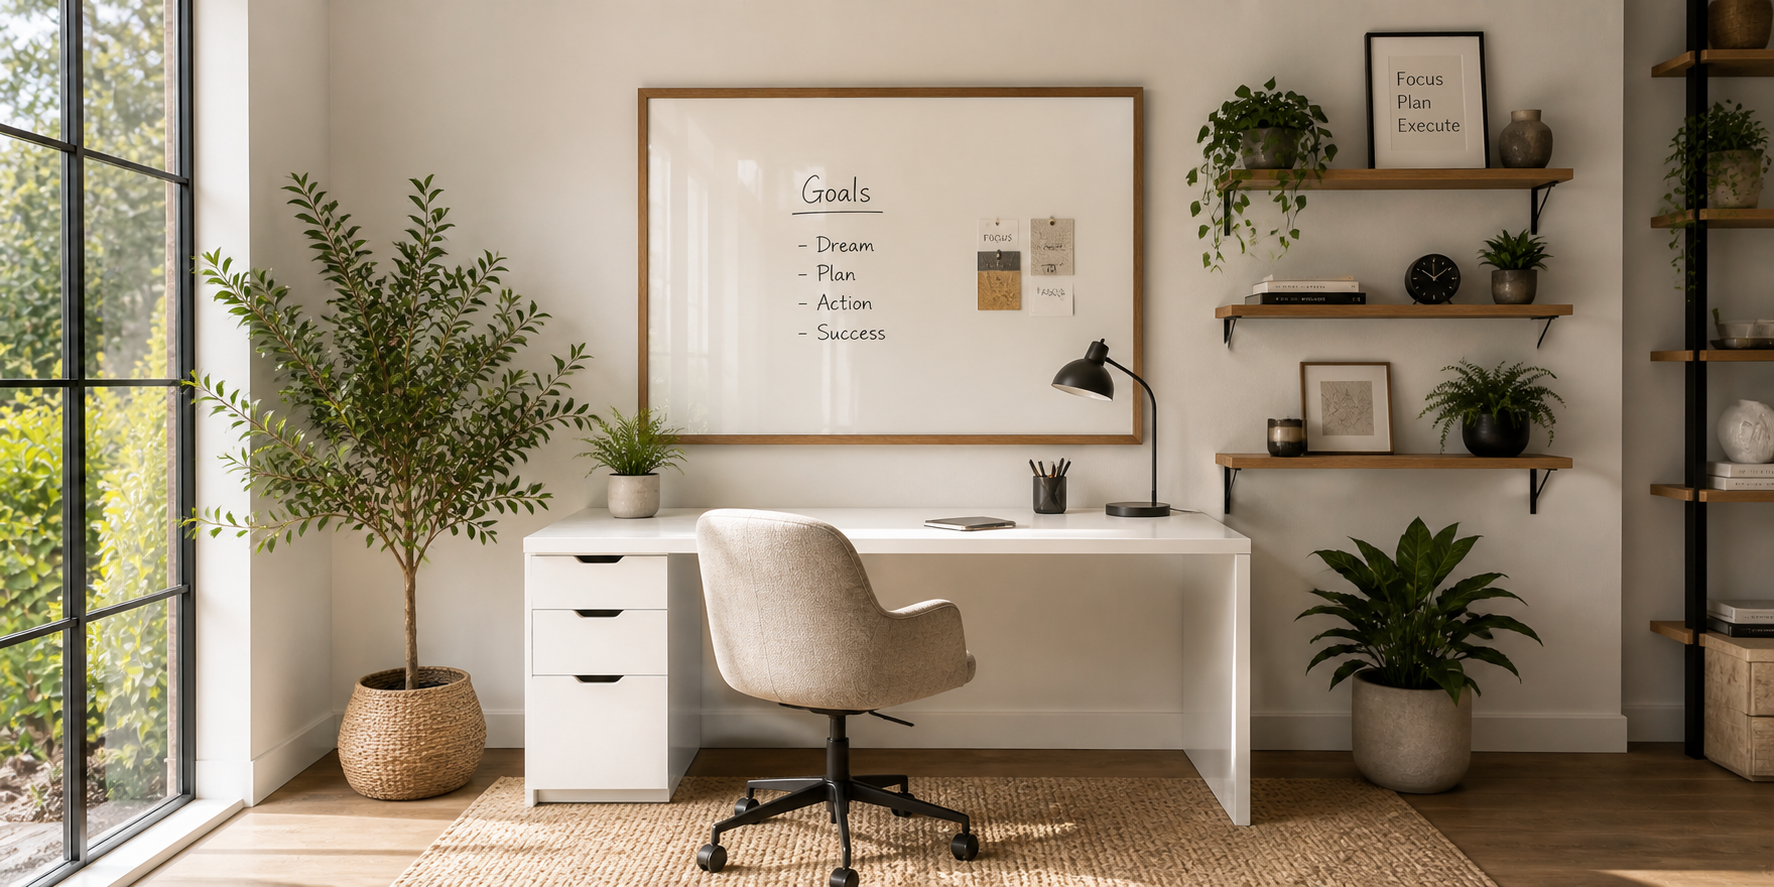
Why limit your dry-erase board to daily notes when it can help visualize your dreams? A vision board setup blends productivity with manifestation, keeping inspiration right in front of you. Picture a whiteboard filled with a mix of handwritten goals, small photos, magazine clippings, and positive affirmations. It’s a living collage that grows as your aspirations do. Add sections for short-term and long-term goals to keep everything focused and motivating.
You can use magnetic clips, pins, or washi tape to attach visuals. Include your yearly goals or reminders of milestones achieved. The process turns your workspace into a daily source of drive and direction.
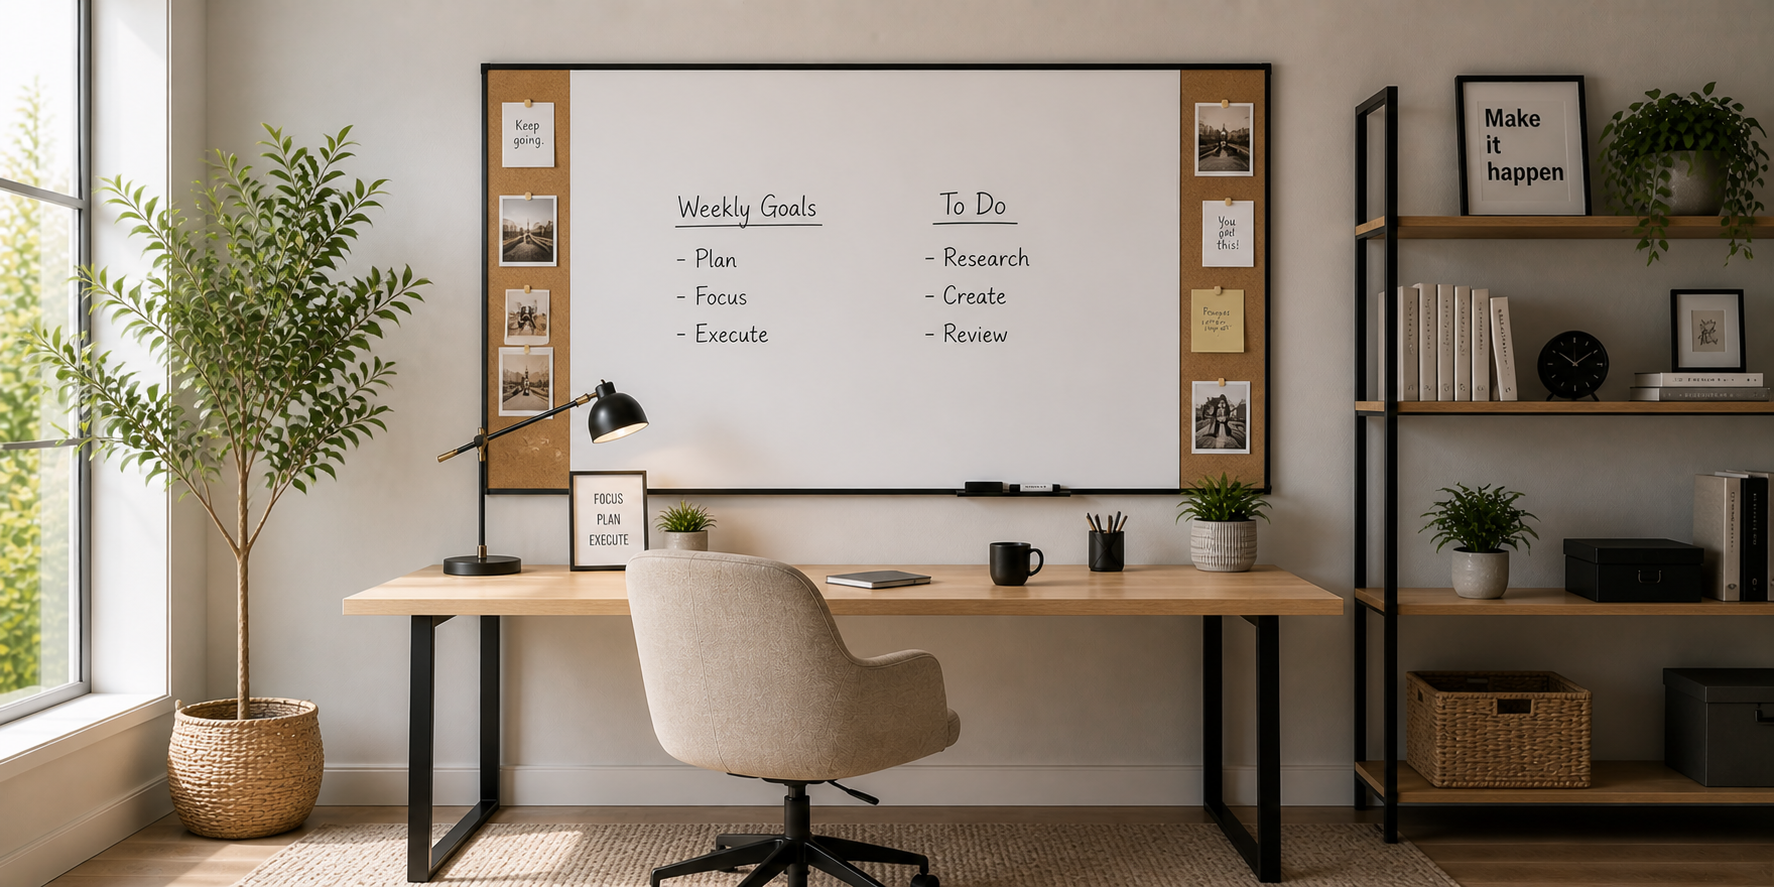
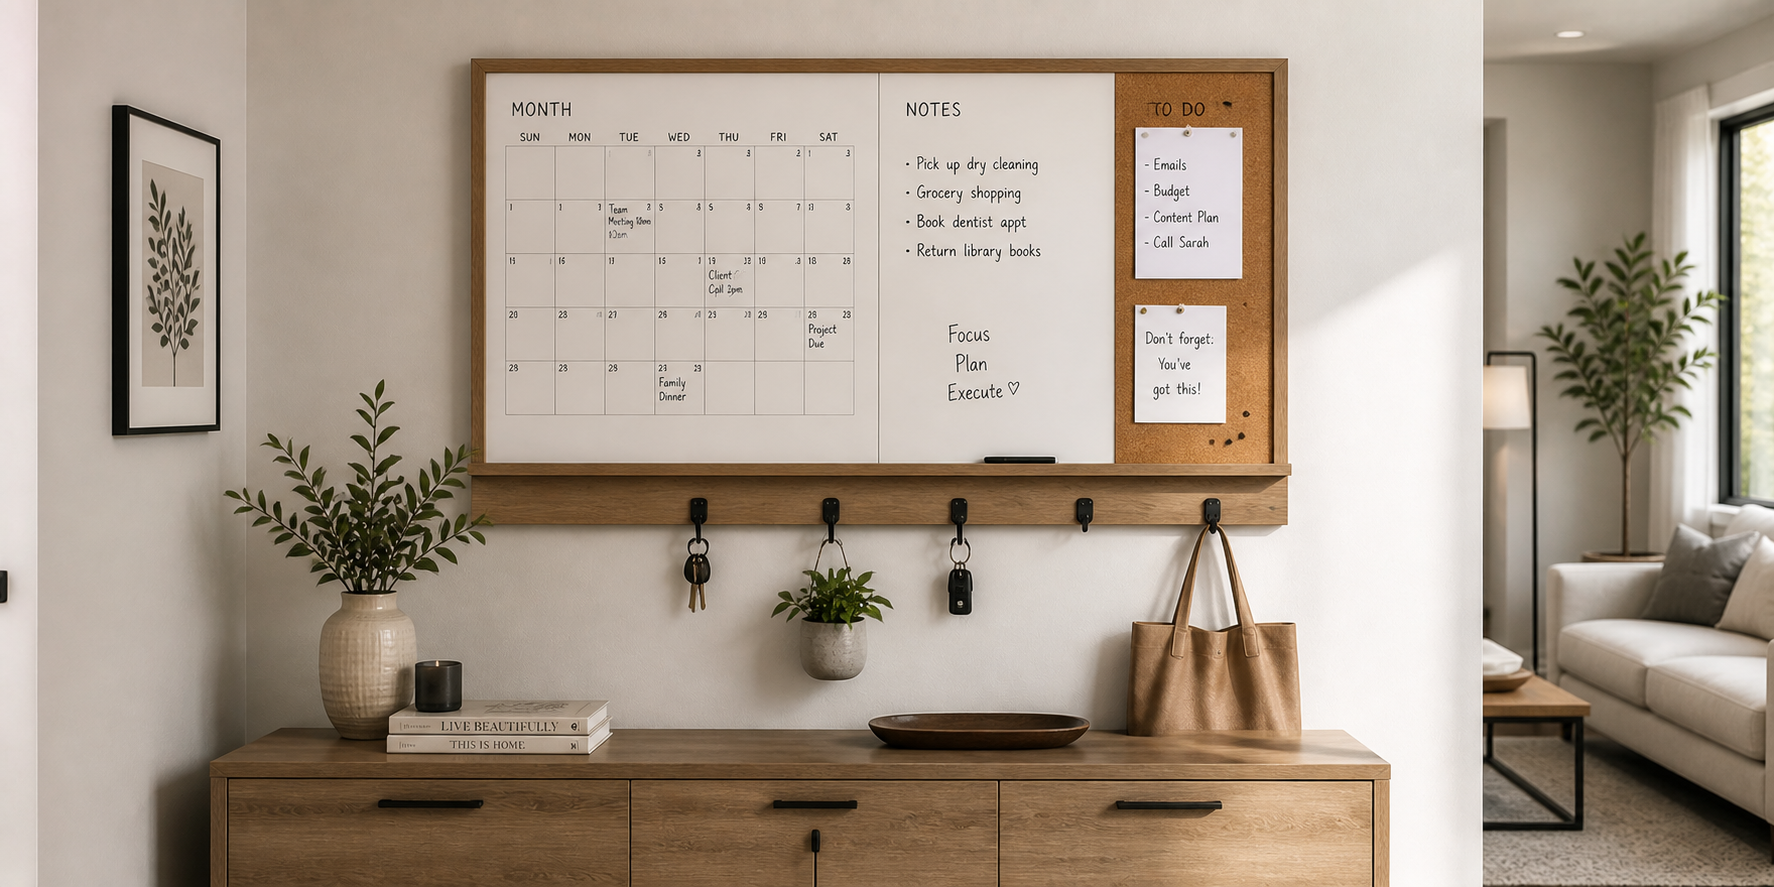
If you love mixing textures, corkboard borders add both style and function to your dry-erase board. It’s the perfect way to pin physical notes, reminders, or photos without cluttering the main writing space. Imagine a crisp whiteboard framed by warm cork panels on all four sides — the contrast of natural texture against glossy white adds depth and sophistication. It’s ideal for hybrid organization: jot tasks in the center and pin receipts, postcards, or sketches around the edges.
Cork sheets can be easily cut and glued to a frame or board edges. You can even paint them to match your room’s palette — olive green for earthy tones or matte black for modern contrast
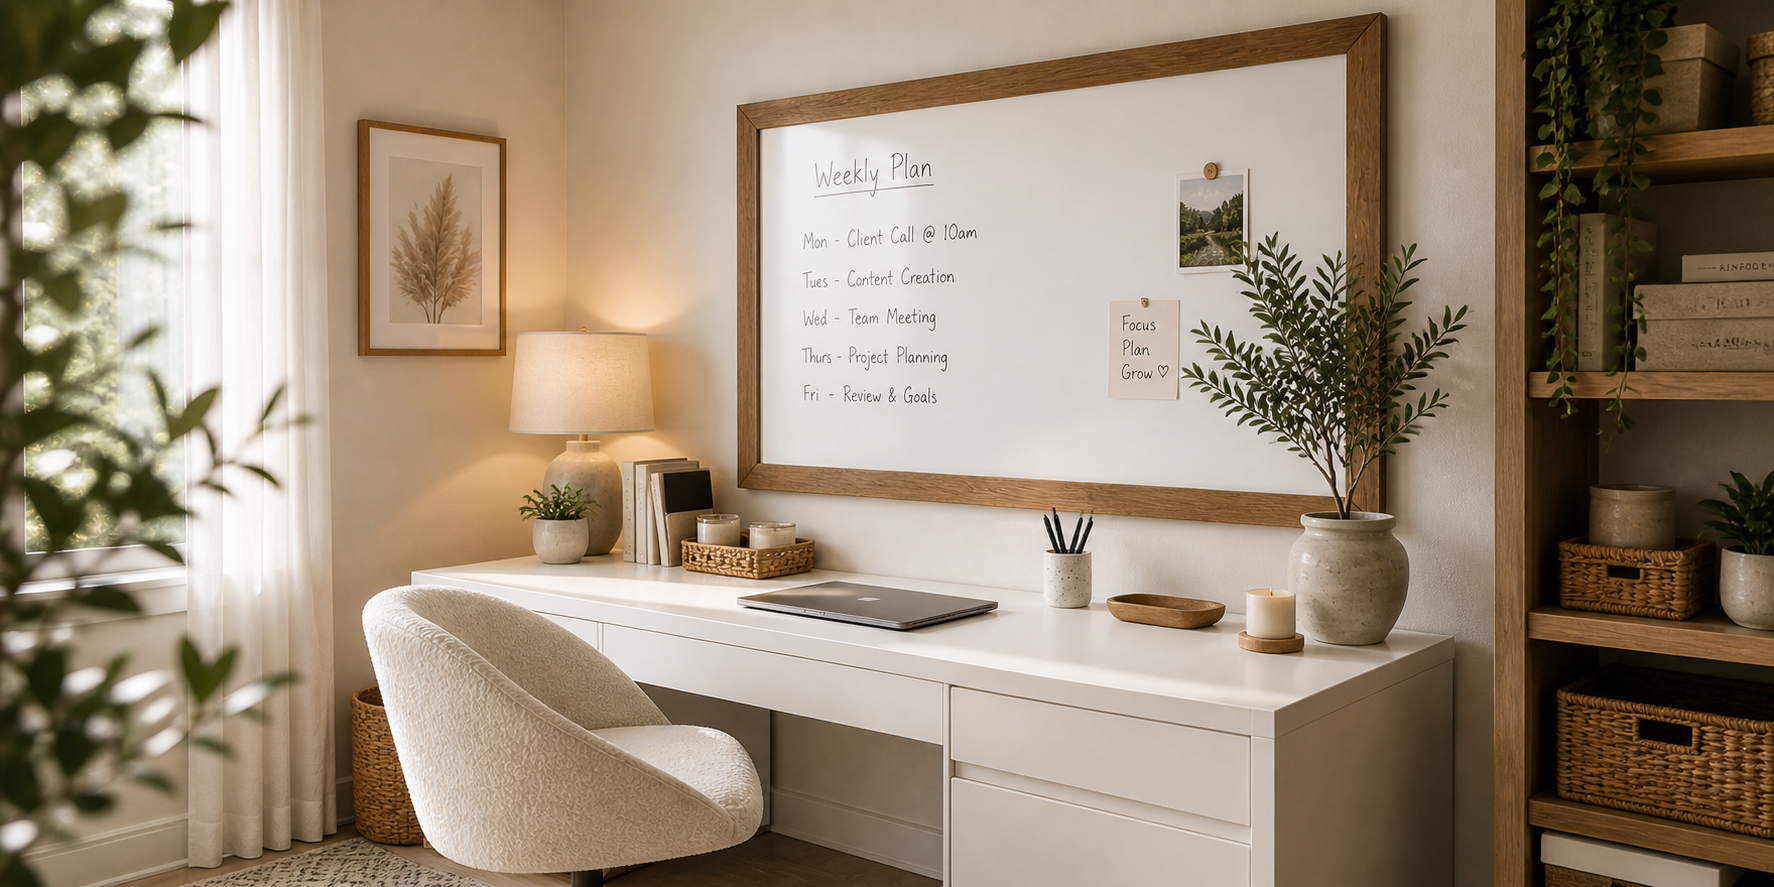
A well-structured calendar layout transforms your whiteboard into the ultimate productivity hub. Instead of cluttered sticky notes or digital reminders, you’ll have a clean visual timeline of your month. Envision a crisp grid made with thin black washi tape — seven columns for days, five rows for weeks — neatly labeled with handwritten dates. Each box holds appointments, deadlines, or personal goals. Add color-coded markers for different categories like work, fitness, or social plans. This setup encourages consistency and keeps your board visually balanced. For small spaces, create a half-size weekly planner version instead of a full month.
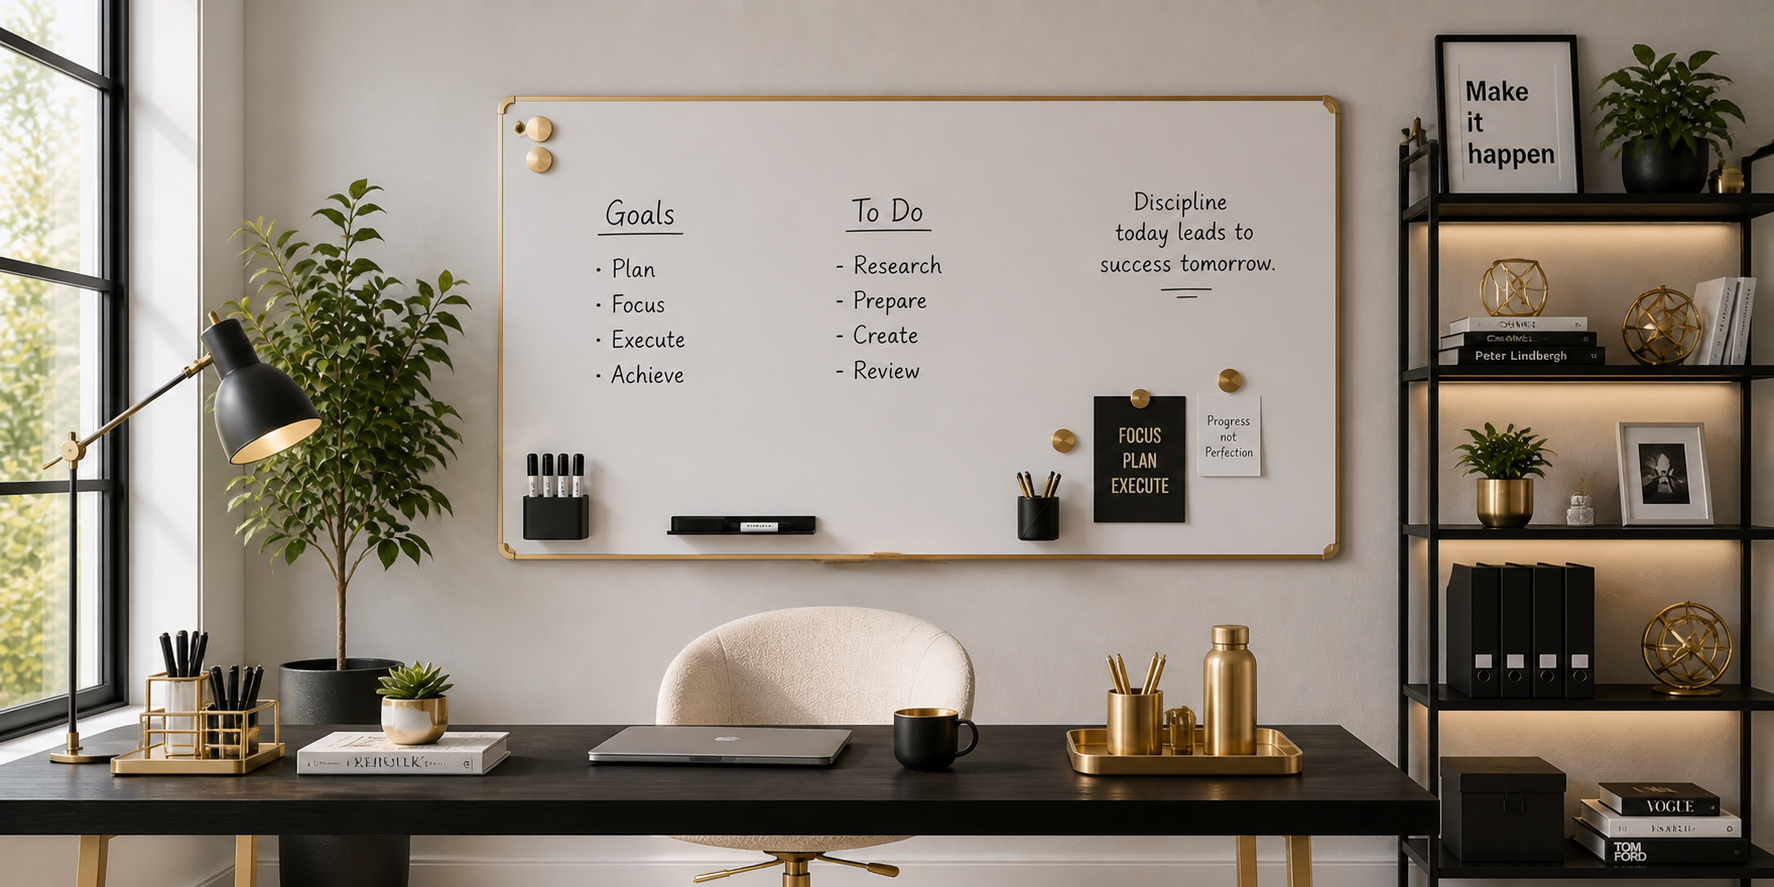
If your decor leans modern, minimalist accessories can elevate the board without overpowering it. Sleek metallics or neutral tones add elegance and cohesion. Imagine a clean whiteboard paired with matte black marker holders, gold magnets, and a brushed steel eraser tray. The look is sharp, understated, and effortlessly coordinated. It fits beautifully in professional offices or modern apartments where clean lines dominate.
Stick to one metal finish for harmony — all brass, all silver, or all black. Add a small metallic frame or nameplate for polish. The result is subtle luxury that never distracts from functionality.
Color isn’t just aesthetic — it’s a powerhouse tool for clarity. Using color-coded sections, markers, or magnets can make your board both beautiful and highly functional. Picture an organized layout where each hue has meaning: blue for meetings, green for personal goals, red for urgent tasks. The interplay of colors instantly tells you where your priorities lie. The system not only keeps your schedule organized but also energizes your workspace visually. Use pastel tones for calm environments or vivid shades for creativity-driven setups. Combine colored markers with matching sticky notes or magnets for consistency.
Why not extend your board’s utility beyond writing? Small hooks or hanging clips can hold keys, scissors, lanyards, or even headphones — ideal for compact home offices. Imagine a board lined with matte black metal hooks along its base or frame. Each hook supports small essentials you reach for daily, keeping your desk clutter-free. The combination of function and style turns your wall into an efficient organization zone. Choose adhesive or magnetic hooks depending on your board type. You can even mix materials like wooden pegs for warmth or brass for an elegant twist.
If you want your whiteboard to feel like part of your decor, use patterned wallpaper or fabric as a backdrop. It creates instant depth and personality. Visualize a crisp whiteboard mounted on a wall covered with soft botanical wallpaper, geometric patterns, or subtle linen texture. The contrast adds warmth, and the framed look ties it seamlessly into your room’s theme. For flexibility, you can apply peel-and-stick wallpaper or hang fabric panels behind the board. Choose calm neutrals for sophistication or bold prints for a creative vibe.
Your workspace should feel like you. Decorating your whiteboard with personal photos, Polaroids, or small prints brings warmth and individuality to even the most utilitarian wall.Imagine a section of your board bordered by pinned Polaroids — family moments, travel memories, or inspirational art. The personal imagery makes your board less of a tool and more of a visual diary. Use magnetic frames or washi tape for easy swapping. You can mix personal images with aesthetic prints that reflect your color scheme or theme. Keep it curated and balanced so it feels cohesive, not cluttered.
For those who love efficiency, a full “command center” turns your whiteboard into the organizational heart of your home or office. Envision a multi-section layout featuring a calendar, to-do list, menu planner, and notes area — all framed in clean lines and accented with coordinating decor. A small cork strip for reminders and a magnetic tray for keys keep it functional and tidy.
This idea works beautifully in entryways, kitchens, or shared family workspaces. It’s both practical and stylish, giving everyone a central spot for updates and inspiration.
A dry-erase board doesn’t have to be purely practical — it can also be a centerpiece of creativity and design. Whether you’re aiming for sleek minimalism, rustic charm, or vibrant energy, each idea helps balance organization with personal expression. Experiment with textures, lighting, and color until your board feels like an extension of your style and workflow. With just a few thoughtful tweaks, a plain whiteboard can become your daily dose of clarity and inspiration. Start small — one section, one frame, or one lighting idea — and build gradually. The best setups evolve, just like your ideas.
Let’s Build
Contact us todayGet daily tips and tricks for making your best home.
2025 Green to Gorgeous